
Building a pole barn is a practical and cost-effective way to add extra storage, a workshop, or a barn to your property.
One of the most crucial aspects is framing, which ensures the structure’s strength and stability.
In this guide, we’ll walk you through the framing process, from preparing the site to completing the framework.
How to frame a pole barn?
Framing a pole barn involves setting the posts, installing girts (horizontal supports), and adding the roof and wall frames. Use strong, durable materials to ensure your barn stands up to the elements.
Key Takeaways
- Framing a pole barn involves setting up the posts, beams, and trusses to create a strong and secure structure.
- Proper site preparation and planning are essential to ensure a level and stable base for your pole barn.
- If you’re not familiar with framing or construction, it’s a good idea to consult with a professional to ensure a safe and sturdy build.
What is a Pole Barn?

Before we dive into the framing process, it’s important to understand what a pole barn is.
A pole barn, also known as a post-frame building, is a type of structure where vertical posts are embedded into the ground to support horizontal beams, which in turn support the roof.
Building a pole barn can be a practical and cost-effective way to add extra storage space, a workshop, or even a barn on your property. Many homeowners and builders choose metal pole barn kits for their durability, ease of installation, and long-term value.
One of the most important aspects of constructing a pole barn is the framing, which provides the structure’s strength and stability.
We’ll walk you through the process of framing a pole barn, from preparing the site to finishing the framework.
Pole barns are commonly used for agricultural, commercial, and residential purposes due to their affordability and versatility.
Why Choose a Pole Barn?
There are several reasons why people choose to build pole barns:
Cost-Effective: Pole barns are generally cheaper to build compared to traditional framed buildings due to their simple design and fewer materials required.
Versatility: These structures can be used for a wide range of purposes, including storage, workshops, garages, and agricultural buildings.
Durability: When properly framed and built, pole barns are sturdy and can withstand harsh weather conditions.
Step-by-Step Guide to Framing a Pole Barn
Framing a pole barn requires careful planning and attention to detail. Below, we’ll break down the steps involved in framing a pole barn.
Prepare the Site
The first step in framing a pole barn is preparing the site. This involves clearing the area of any debris, weeds, or rocks, and ensuring that the ground is level.
Clear the Land: Before setting up your 40×60 pole barn kit near me, clear the designated area using a shovel or tractor to remove vegetation, rocks, or any other obstructions that could interfere with construction.
Mark the Layout: Use stakes and string to outline the perimeter of the barn. This will help ensure that the structure is built in the correct location and that the posts are placed evenly.
Set the Poles
The next step is to install the vertical posts that will serve as the main supports for your pole barn.
Dig Holes for the Posts: Use a post hole digger or an auger to dig holes for the vertical posts.
The depth of the holes will depend on the size of the posts and the local building codes, but typically they should be around 3 to 4 feet deep—especially when constructing a 36×48 metal pole barn, where stability is crucial due to the structure’s dimensions.
Place the Posts: Once the holes are dug, place the posts into the holes and use a level to ensure that they are standing straight.
You may need help from another person to hold the posts in place while you check their alignment.
Secure the Posts: Fill the holes with concrete to anchor the posts in place. Allow the concrete to cure for 24 to 48 hours before proceeding with the next steps.
Install the Girts and Beams
The girts and beams are the horizontal components that connect the vertical posts. These pieces provide structural support for the walls and roof of the barn.
Install the Girts: When working on a 40x60x16 pole barn kit installation, secure the girts to the posts using nails or screws. These girts are typically spaced every 8 feet, although the exact intervals may vary depending on the overall size and design of your barn.
Attach the Beams: Beams are placed at the top of the posts to support the roof trusses. Secure the beams to the top of the posts using bolts or heavy-duty screws.
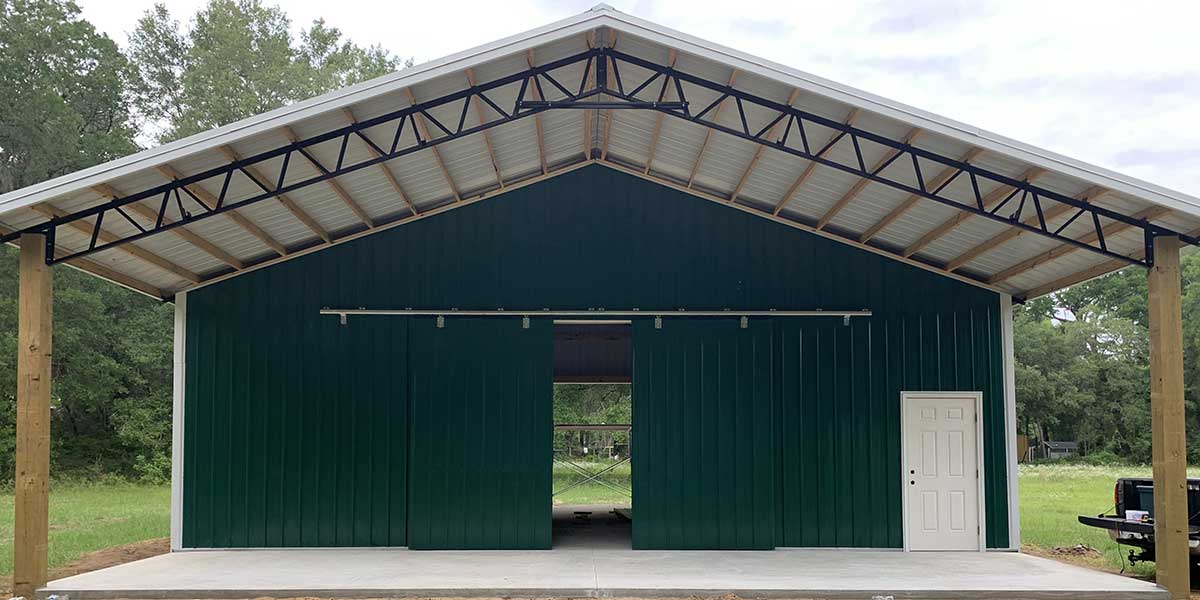
Install the Roof Trusses
The roof trusses are the most important part of the frame as they will support the weight of the roof.
Place the Trusses: The trusses should be placed evenly across the top of the beams. Space the trusses approximately 2 to 4 feet apart, depending on the size and design of the barn.
Secure the Trusses: Use metal brackets or bolts to attach the trusses to the beams. Make sure the trusses are properly aligned and level before securing them in place.
Install the Purlins
Purlins are horizontal beams that run parallel to the trusses and support the roofing material.
Attach the Purlins: Install the purlins by attaching them to the top of the trusses. They should be spaced about 4 feet apart to provide enough support for the roof panels.
Ensure Stability: Once the purlins are installed, check that everything is secure and stable before moving on.
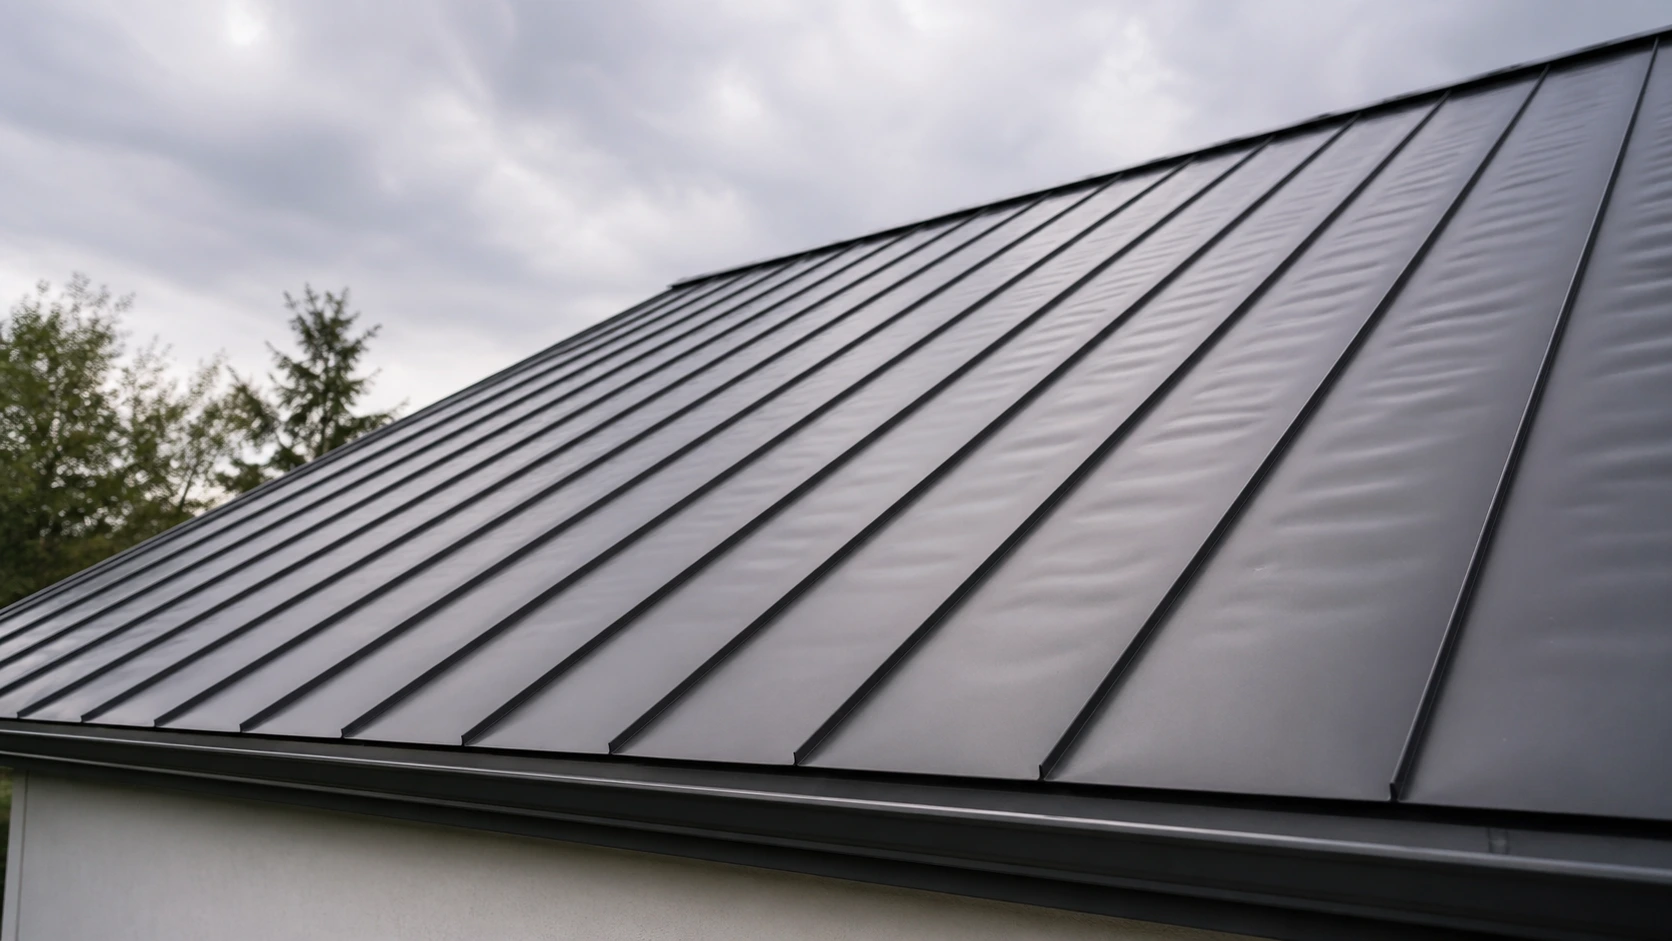
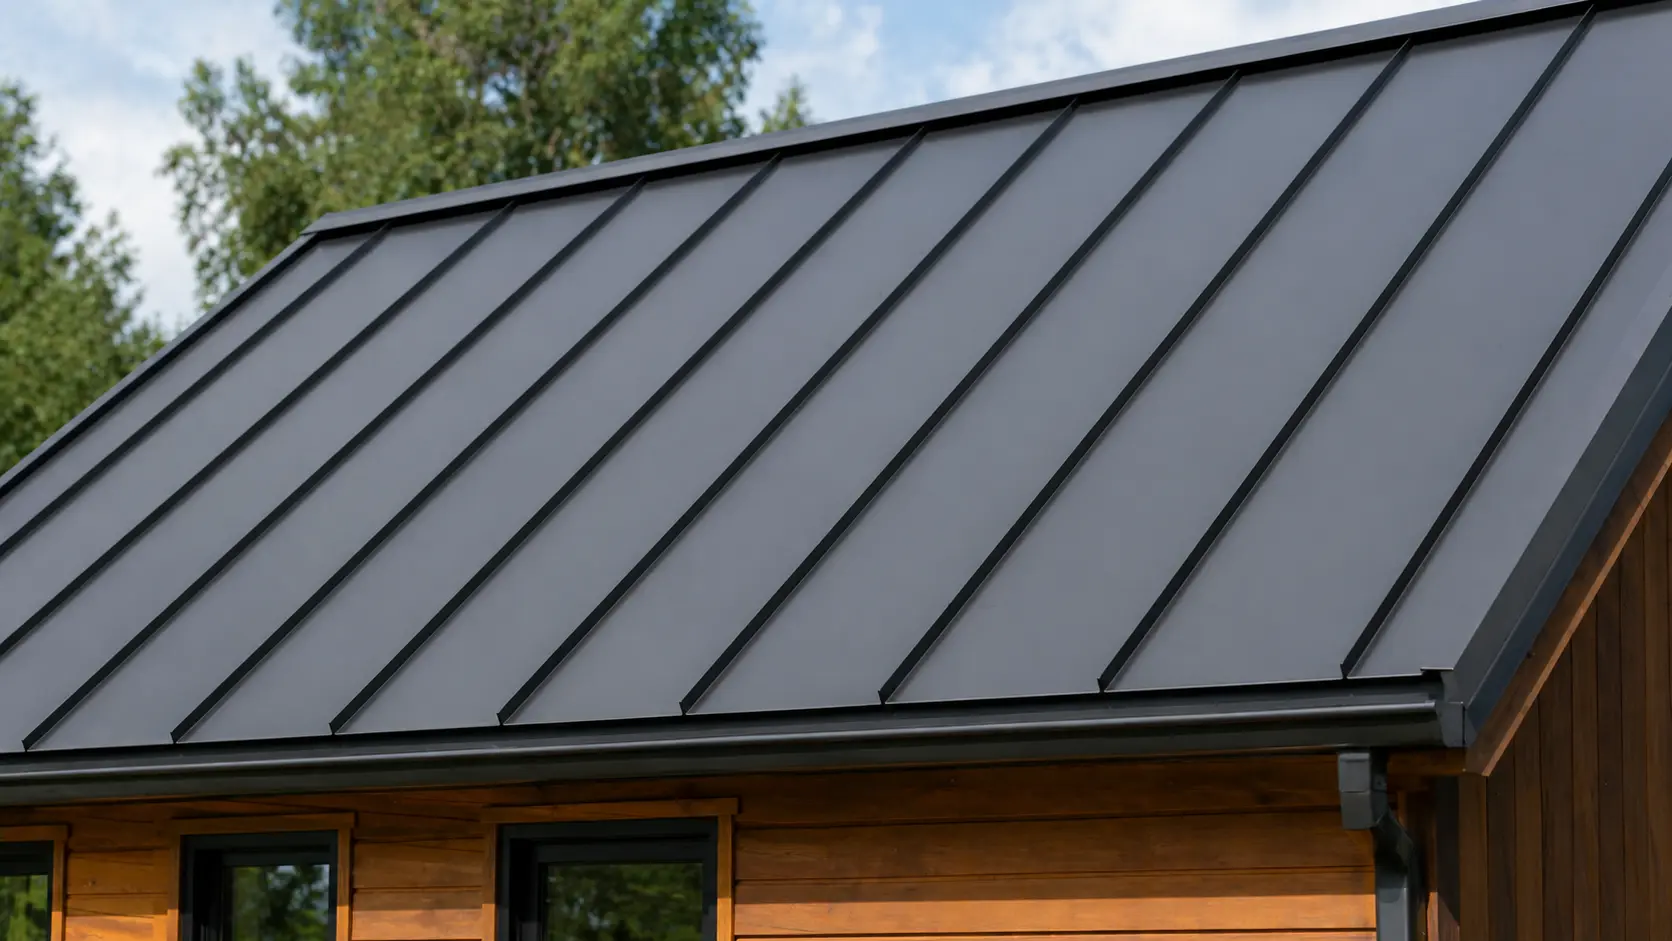
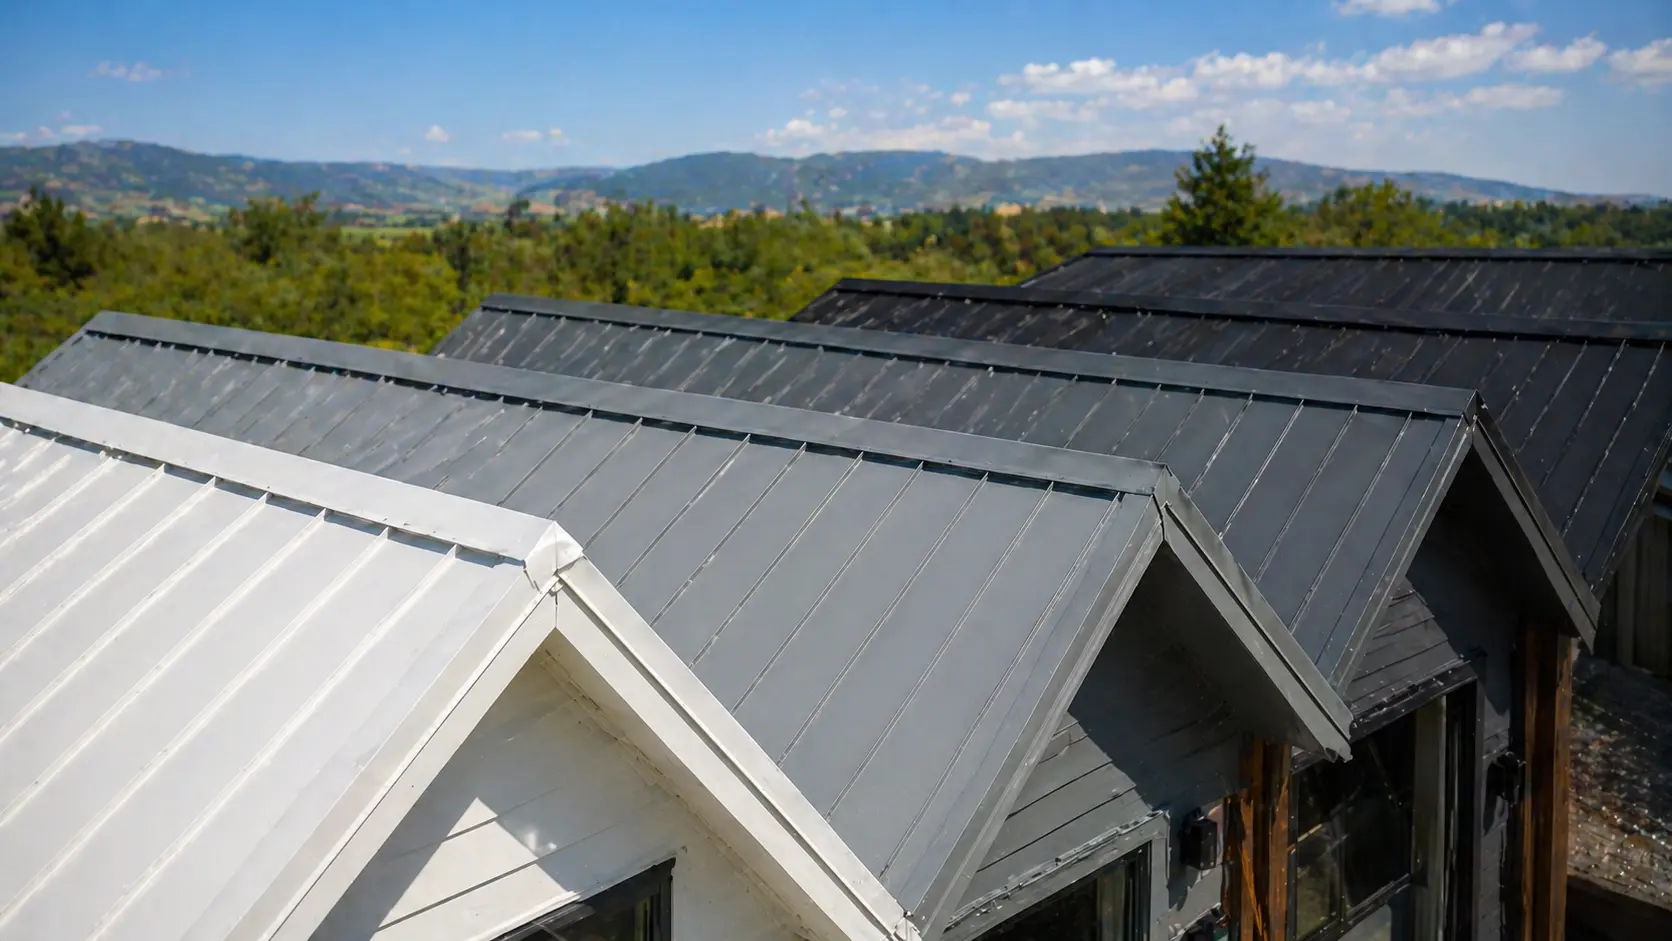
Install the Roof Panels
The final step in framing a pole barn is installing the roof panels, which shield the structure from the elements. If you’re planning a project, you can find out more about pole barn construction with metal trusses to ensure lasting strength and durability.
Choose the Roofing Material: The most common roofing materials for pole barns are metal panels, as they are durable and cost-effective. Choose a material that suits your climate and budget.
Install the Roof Panels: Begin installing the roof panels at the bottom edge of the roof, overlapping the panels as you go. Secure each panel with screws, making sure they are tightly fastened to the purlins.
Ensure Proper Alignment: Check the panels regularly to ensure they are properly aligned and that there are no gaps that could let water in.
Additional Considerations When Framing a Pole Barn

While the steps outlined above will get you started, there are some additional considerations that may impact the design and construction of your pole barn.
Building Codes and Permits
Before starting construction, check with your local building authority to ensure that your pole barn complies with local building codes. This is especially important when considering options like cheap 40x60x16 pole barn kits, as compliance can vary based on kit specifications and regional requirements.
In some areas, you may need a permit to build a pole barn, especially if it exceeds certain dimensions.
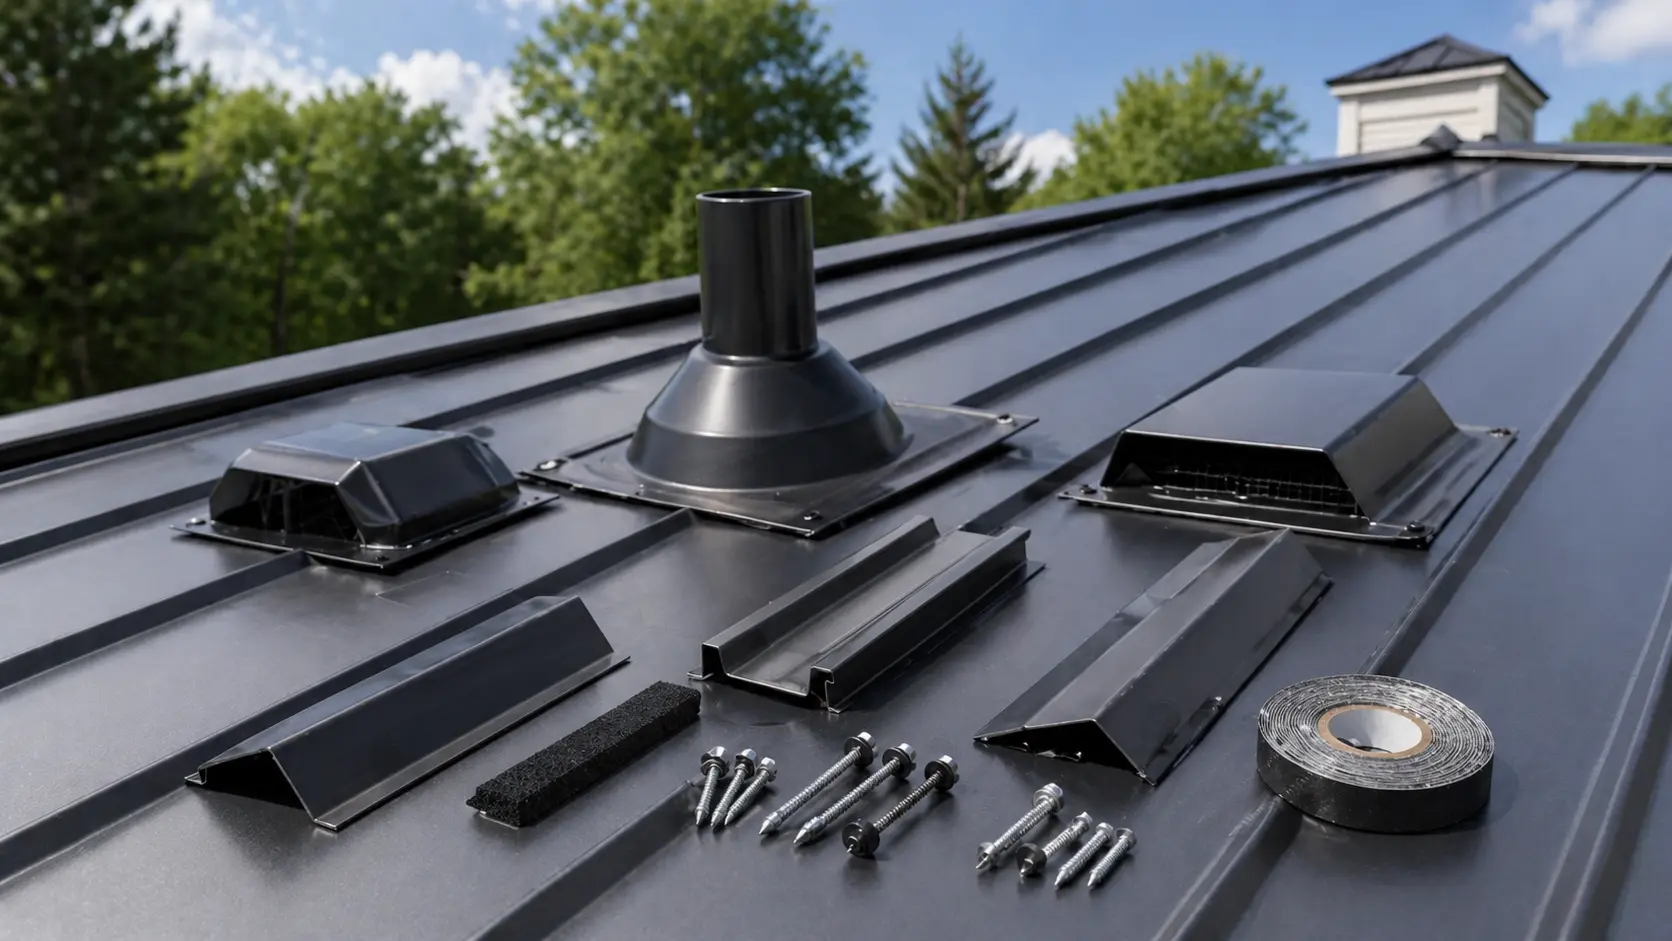
Ventilation
Proper ventilation is essential for preventing moisture buildup inside the barn. Consider installing vents near the top of the walls or at the roof peak to allow for air circulation.
Flooring
Many pole barns are built without floors, but if you plan to install one, consider using concrete, gravel, or wood depending on the intended use of the space.
Insulation
If you plan to use your pole barn as a workshop, office, or living space, you may want to consider adding insulation.
This can help regulate the temperature inside the barn and make it more comfortable year-round.
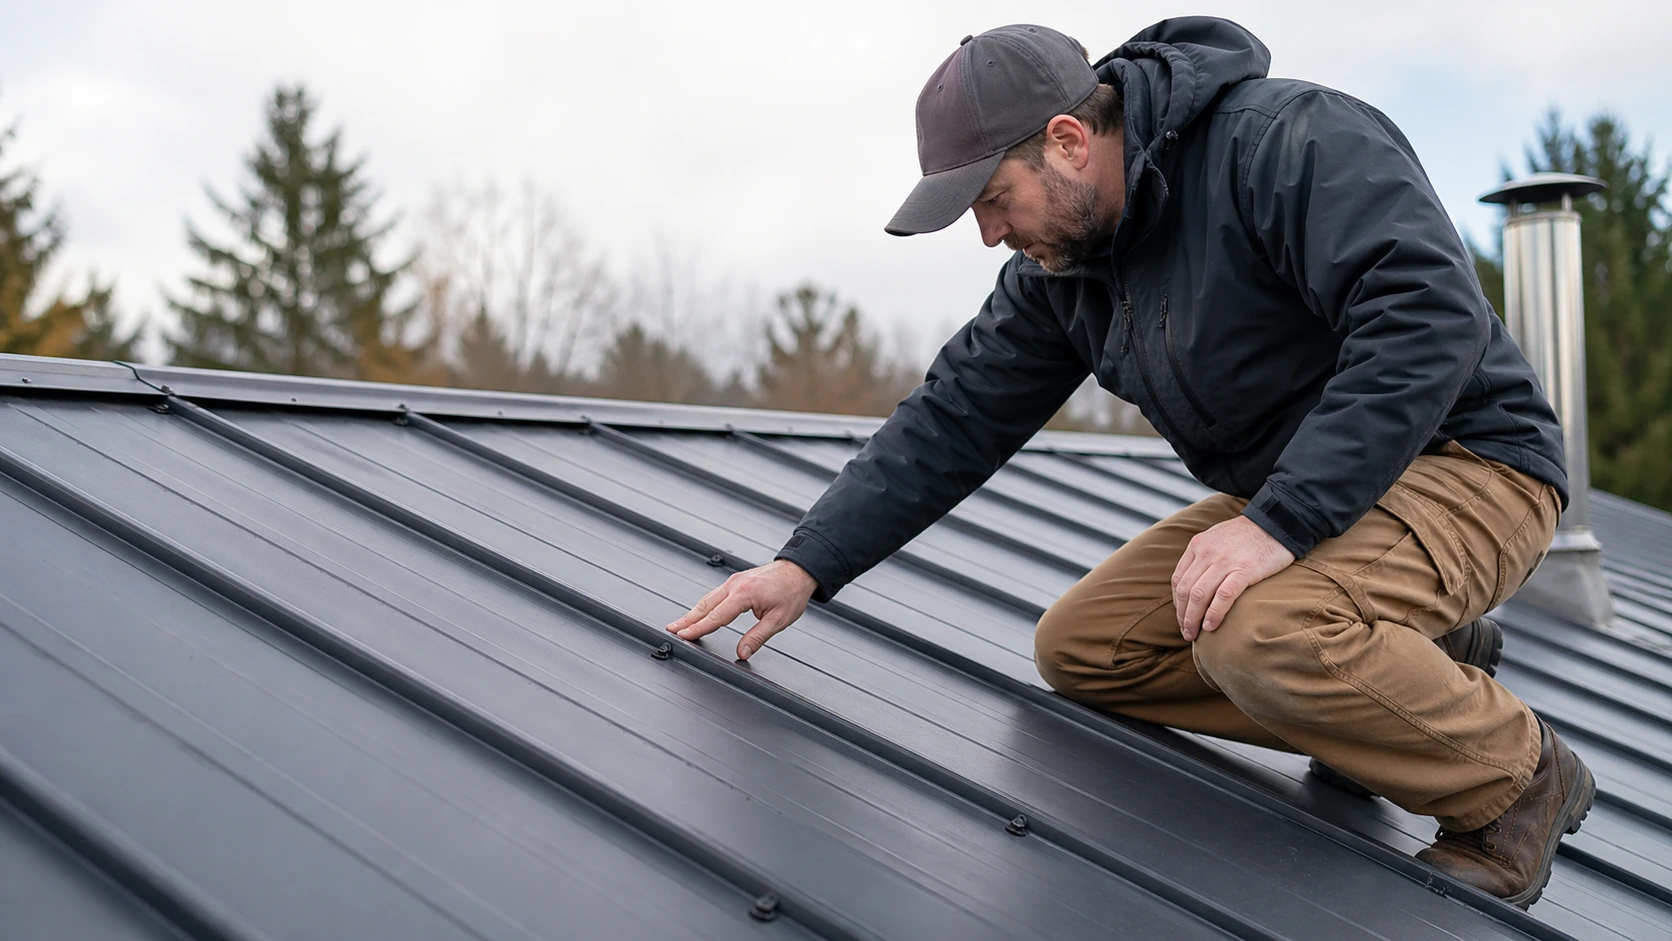
When to Call a Professional
If you’re not familiar with framing or construction, you may want to consult with a professional.
While some homeowners can tackle the job themselves, framing a pole barn demands precision, strength, and careful planning. Before diving in, many ask how much are DIY pole barn kits, since cost often shapes whether to DIY or hire pros.
A professional will ensure that your pole barn is built safely and up to code, preventing potential issues in the future.
Frequently Asked Questions
1. How much does it cost to frame a pole barn?
The cost of framing a pole barn can vary widely depending on size, materials, and location. On average, framing costs can range from $10,000 to $30,000.
2. How long does it take to frame a pole barn?
Framing a pole barn typically takes anywhere from a few days to a couple of weeks, depending on the size of the structure and the complexity of the design.
3. Can I frame a pole barn myself?
If you have experience with construction and the necessary tools, it is possible to frame a pole barn yourself. However, for larger projects or if you’re unsure of the process, it’s best to hire a professional.
This is especially true when it comes to tasks like finding the right way to cut pole barn metal panels, which requires precision and the proper equipment.
Conclusion
Framing a pole barn is a great way to create additional storage or workspace on your property.
With the right materials, tools, and preparation, you can successfully frame a sturdy and reliable pole barn.
Whether you choose to tackle the project yourself or hire a professional, understanding the key steps involved is essential for a successful build.