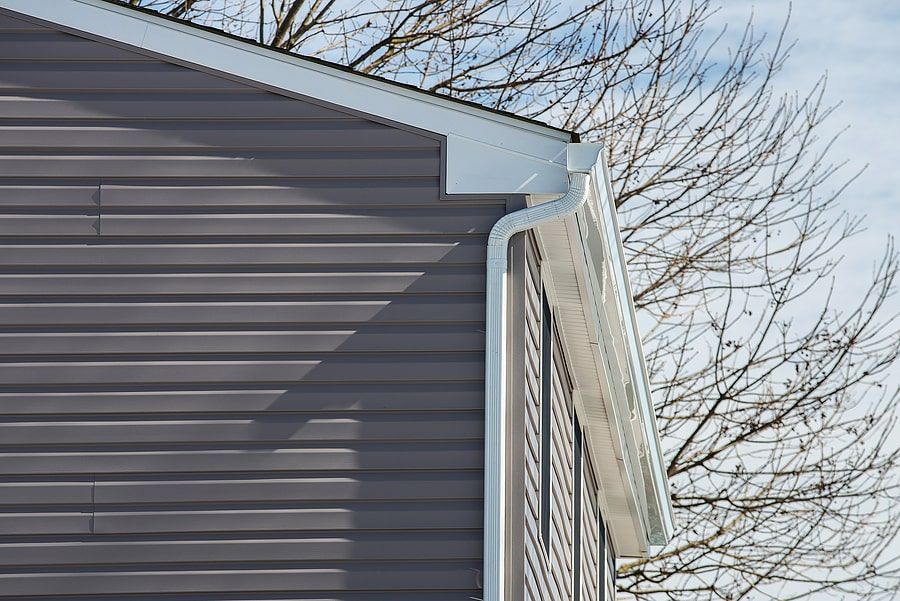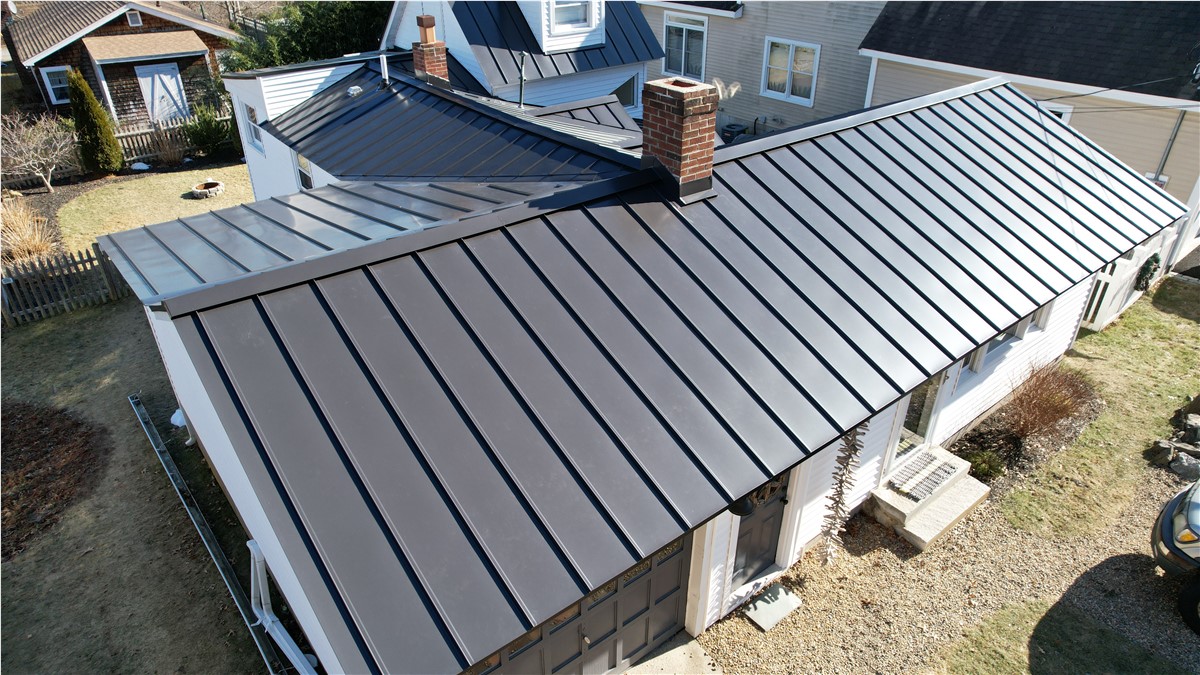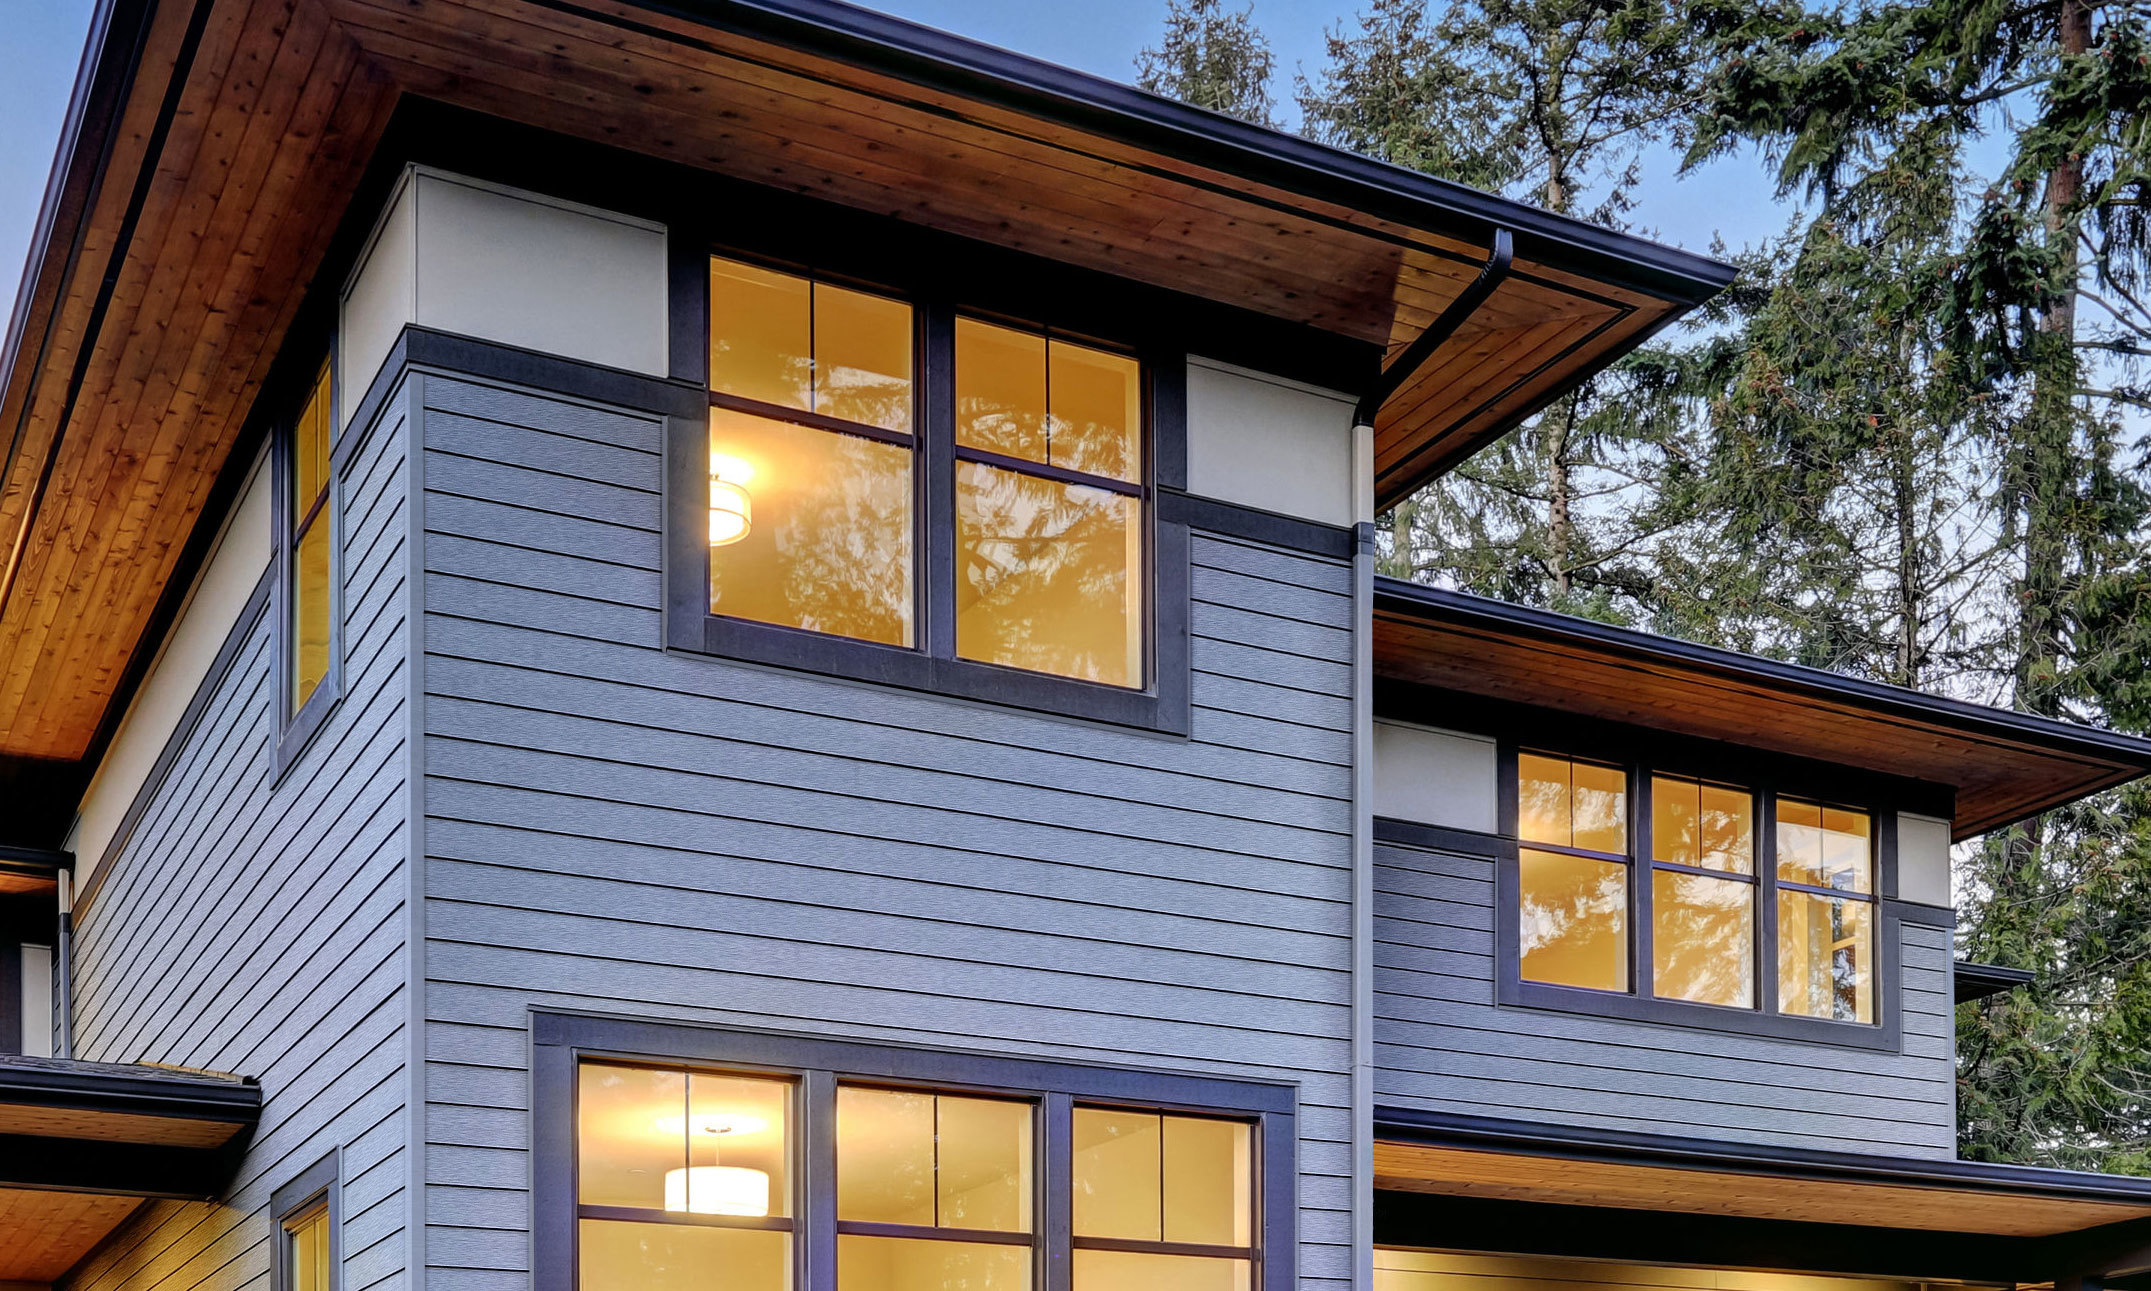

Most people focus on the panels when they think about metal roofing. But here’s the truth: the trims are what separate a professional installation from an amateur one. Eave trims, ridge caps, rakes, valleys, flashings — they’re the finishing details that seal out water, wind, and pests. And the quality of those trims comes down entirely to how they’re made.
At The Metal Shop, we don’t just make trims — we engineer them using some of the most advanced metal fabrication technology in the world. Here’s exactly how it works.
It All Starts With the Coil
Before any trim takes shape, it starts as a large steel coil. We’re talking 7,000 to 12,000-pound master coils of Galvalume®-coated, AkzoNobel CERAM-A-STAR® painted steel — the same high-performance material that goes into our 5-rib and standing seam panels.
These coils are loaded into our cutting equipment and processed in two critical steps:
- Cut to length — The coil is unrolled and cut to the exact length required for each trim profile
- Cut to blank width — Each piece is cut to the precise flat width (called a “blank”) needed before folding begins
This blank is the raw material that will become your finished trim. Getting these dimensions right is non-negotiable — every measurement downstream depends on it.
Loaded Into the Thalmann Double Folder
Once the blanks are cut, they’re loaded into our Thalmann TD Double Folder — and this is where the magic happens.
The Thalmann is not your average brake press. It’s a fully automated, state-of-the-art folding machine engineered in Switzerland and recognized as the gold standard in precision metal forming. Think of it as a robot that handles your metal with more accuracy and consistency than any human hand could achieve.
Here’s what happens inside the machine:
- The blank is laid on the machine — flat, clean, and cut to spec
- The machine grabs and pulls the blank — positioning it to the exact location needed for the first bend
- Hems are formed first — the machine folds the edges to create clean, safe, finished hem profiles
- All bends are executed in sequence — every angle, every fold, every profile is pre-programmed into the machine’s digital library
- Excess material is cut off — the machine trims any remaining material to leave a perfect, finished part
Every trim profile we produce — for 5-rib panels, standing seam, board and batten, and custom applications — is pre-programmed into the Thalmann. That means when you order a ridge cap or an eave trim from us, it’s being produced by a machine that has been dialed in to exact tolerances, every single time.

Why the Thalmann Changes Everything
Most trim fabrication shops still rely on manual press brakes — a skilled operator lining up a piece of metal by hand and pulling a lever. It works. But it introduces human variability.
The Thalmann eliminates that. Here’s what that means for your project:
- Consistent dimensions — Every trim is identical, bend for bend, piece for piece
- Tight tolerances — No gaps, no misalignment, no field-fitting headaches
- Faster production — Most custom trim orders are ready in 3–4 days
- Complex profiles made simple — Profiles that would take multiple setups on a manual brake are handled in one automated sequence
If you’re a contractor running a tight schedule, this matters. Your trims show up ready to install — not ready to fight with.
From Coil to Finished Trim: The Full Picture
Here’s the complete journey, start to finish:
- 7,000–12,000 lb. painted steel coil loaded into cutting equipment
- Cut to length and blank width — precision flat blanks produced
- Blanks loaded into the Thalmann TD Double Folder
- Machine grabs, positions, hems, bends, and trims — fully automated
- Finished trim comes off the machine, ready for quality check and delivery
That’s it. No shortcuts. No guesswork. Just precision-engineered trims built to fit your panels perfectly.
FAQs
1: What trim profiles does The Metal Shop fabricate?
We produce trims for 5-rib, standing seam, board and batten, PBR, and custom profiles — including eave, rake, ridge, valley, Z-flashing, and more. If you can draw it, we can make it.
2: How long does custom trim fabrication take?
Most custom trim orders are ready in 3–4 days. We keep the process moving so your project doesn’t sit waiting on materials.
3: What material are your trims made from?
All trims are fabricated from Galvalume®-coated steel with AkzoNobel CERAM-A-STAR® paint — the same 40-year warranty material as our panels.
4: Can I order trims without ordering panels?
Absolutely. Call us at (269) 215-2003 or stop by Mon–Fri, 7:00 AM – 5:00 PM. We’ll help you figure out exactly what you need.
The Metal Shop | 12945 South M-66 Hwy, Bellevue, MI 49021 | (269) 215-2003 | themetalshopllc.com