Thinking about building a metal pole barn? It’s a strong, budget-friendly choice for storage, workshops, or livestock.
From planning and permits to construction tips, this guide walks you through each step to help you build a durable barn that stands the test of time.
How to build a metal pole barn?
To build a metal pole barn, start by setting the posts in concrete, then attach the framing. Add metal panels to the walls and roof, ensuring each piece is level and secure.
Key Takeaways
- Metal pole barns offer a long-lasting and cost-effective building solution for various needs.
- The construction of a pole barn involves careful planning, proper materials, and the right equipment.
- You need to be aware of local building codes, permits, and the foundation required before starting the project.
Step 1: Planning Your Metal Pole Barn

Before you begin construction, it’s important to plan your metal pole barn thoroughly.
This includes deciding on its purpose, size, and location. For example, if you’re considering building a 30×50 pole barn, proper planning will ensure that your structure is functional, safe, and compliant with local building regulations.
Determine the Purpose of Your Pole Barn
Understanding the primary function of the pole barn is key to designing it appropriately. Are you using it for storage, as a workshop, or for agricultural purposes?
The purpose will dictate the size, layout, and features you’ll need to incorporate, such as windows, doors, or ventilation systems.
Check Local Building Codes and Permits
Before you dive into construction, check with your local building department about zoning requirements, building codes, and permits. This step is just as important as understanding the overall building a pole barn house cost, since both factors play a big role in planning your project.
Some areas may require you to obtain a building permit before Some areas may require you to obtain a building permit before starting construction, so it’s important to secure the necessary approvals first. If you’re planning ahead, click here to see how many trusses you’ll need for a 30×40 pole barn so you can budget and prepare properly.
Plan the Size and Layout
Measure the space where the barn will be built and determine the dimensions of the structure. Consider the height, width, and depth to accommodate your needs.
Remember to account for doors, windows, and any additional features you want to include. It’s also wise to leave some space around the structure for proper drainage and ventilation.
Step 2: Gather Materials and Tools
Building a metal pole barn requires specific materials and tools. Gathering everything you need beforehand will save you time and ensure a smoother construction process.
Materials for Building the Barn
The materials you will need include:
- Metal Poles: These beams serve as the main supports for the structure, tailored in size to fit your barn’s design. Pairing them with the right metal pole barn siding options for durability ensures the whole build stays strong and long-lasting.
- Metal Sheets: For the roofing and siding. Choose durable and weather-resistant sheets for optimal protection.
- Concrete: For pouring the foundation and securing the poles.
- Trusses: These are used to support the roof.
- Fasteners: Bolts, screws, and other hardware will be required to secure the frame and metal panels.
- Wooden Beams: For additional support, especially for any doors or windows.
- Insulation: If you plan to insulate your pole barn, you will need materials like fiberglass or spray foam insulation.
Tools Needed
Here’s a list of essential tools for constructing a metal pole barn:
- Power drill
- Wrenches and ratchets
- Hammer
- Measuring tape
- Level
- Concrete mixer (optional, if mixing concrete by hand)
- Safety gear (gloves, goggles, hard hat)
Step 3: Prepare the Site and Foundation
A solid foundation is critical to the stability of your pole barn. Most metal pole barns use either a gravel or concrete foundation, depending on the size and purpose of the structure.
Clear the Land
Before construction begins, it’s important to clear the land where your pole barn will go. Remove any trees, rocks, or debris, and level the area to create a stable foundation. If you’re planning a specific size, like a 30×60 structure, be sure to discover details on 30×60 pole barn to ensure proper site prep and layout.
Mark the Pole Positions
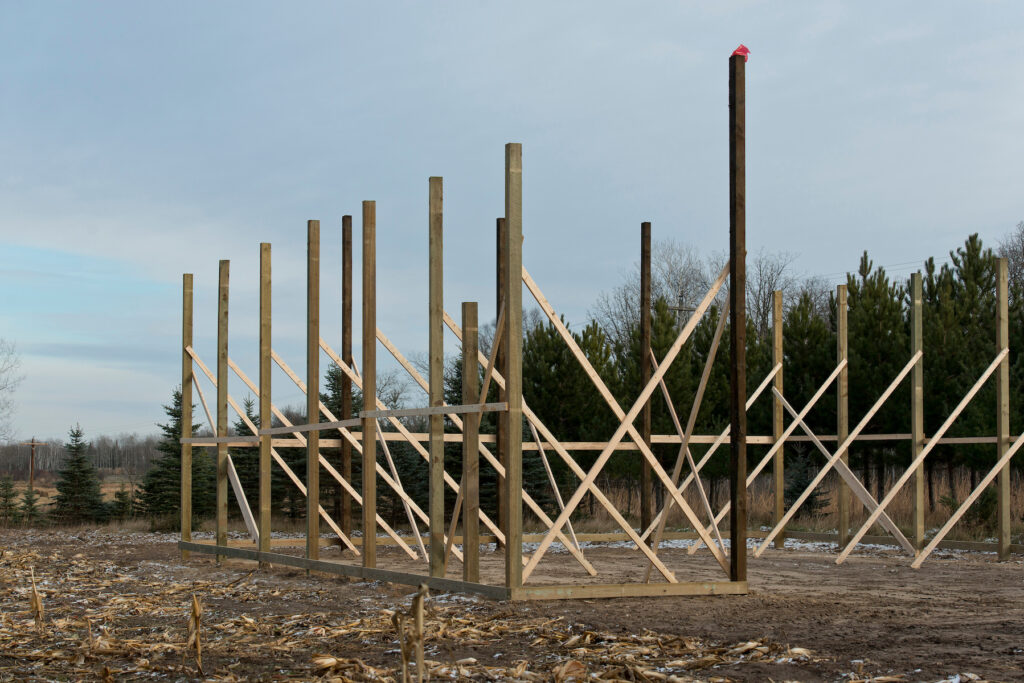
Once the land is cleared, mark where each pole will go.
These marks should align with the measurements from your planning stage, ensuring that the barn will be built according to your specifications.
Dig Holes for the Poles
Using a post hole digger, dig holes for the metal poles. The holes should be deep enough to anchor the poles securely.
A typical depth is around 3–4 feet, though this can shift based on soil and the height of your barn. If you’re weighing what is better a pole barn or metal building, factors like foundation depth play a big role in the decision.
Pour Concrete
After positioning the poles in the holes, mix and pour concrete into each hole to secure the posts.
Make sure the poles are level and plumb before the concrete sets. Allow the concrete to cure for at least 24 hours before moving to the next stage.
Step 4: Build the Frame and Install the Roof

The next phase involves constructing the frame of your pole barn and installing the roof structure.
Install Horizontal Beams and Trusses
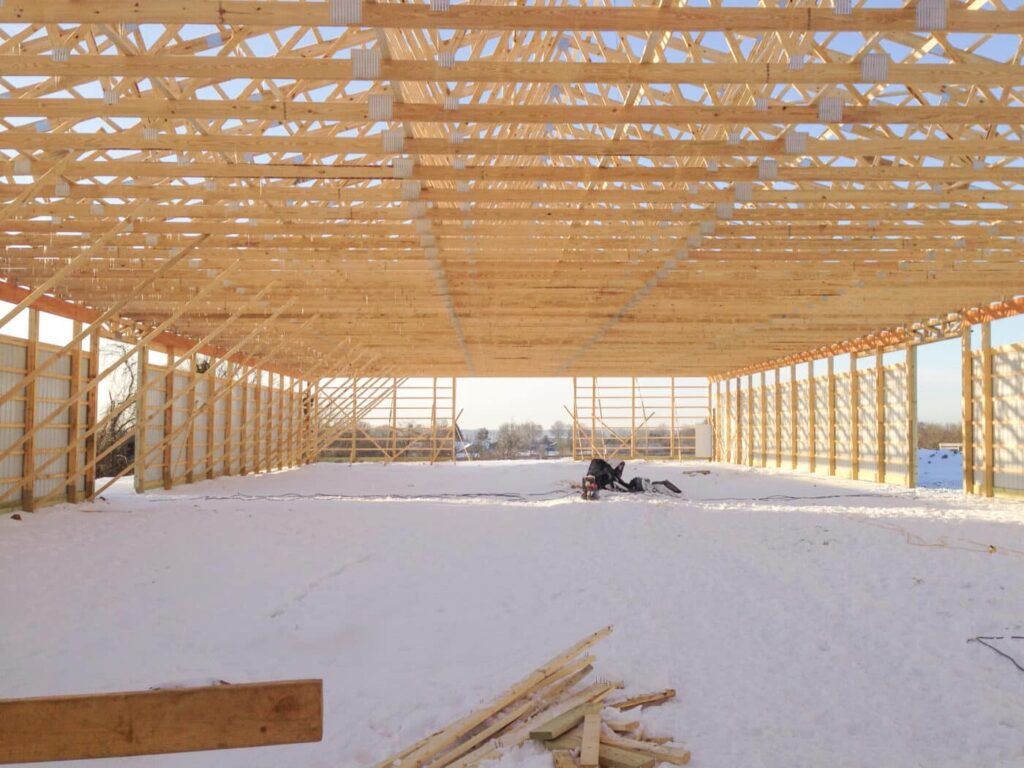
Once the poles are set, install horizontal beams between the poles to form the framework. These beams will support the roof and walls. Afterward, place the trusses across the frame.
Trusses play a crucial role in giving the roof proper support, especially when working with heavier metal panels. Learning how to build a pole barn with metal trusses ensures your structure stays strong and stable for years.
Install the Roofing Panels
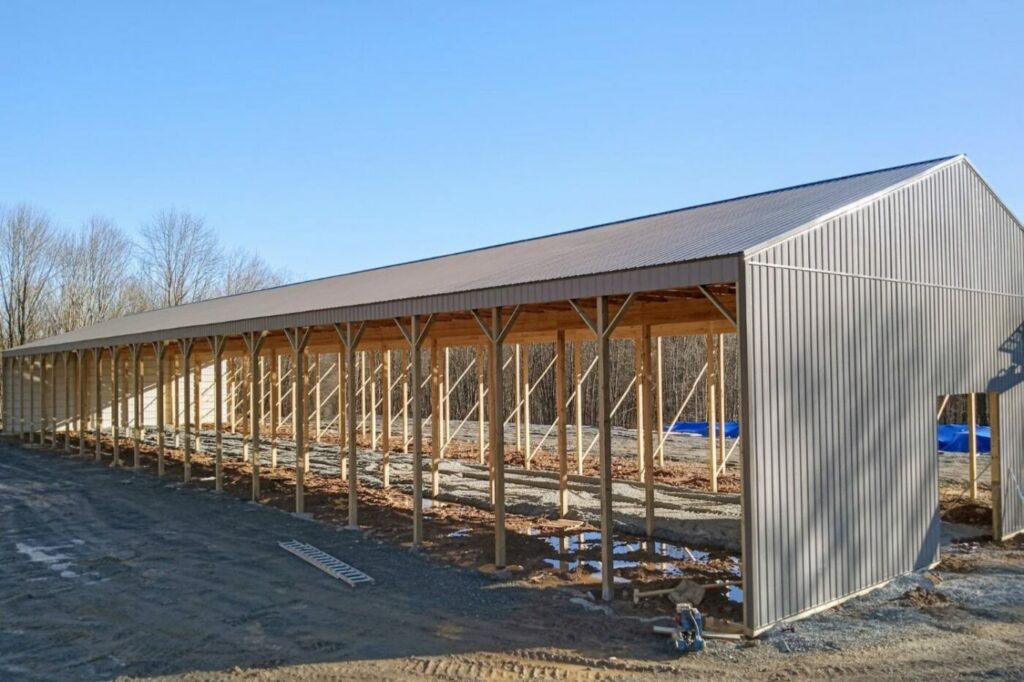
Begin installing the roofing panels by securing them to the trusses with screws or nails.
Metal roofing panels are typically installed from one end to the other, overlapping each piece slightly to prevent leaks.
Make sure the panels are aligned and secure before moving on to the walls.
Frequently Asked Questions
1. How long does it take to build a metal pole barn?
The construction of a metal pole barn usually takes 2–4 weeks, depending on its size and design complexity. Factoring in the steps to install metal roofing on pole barn can also influence the overall timeline.
2. Do I need a permit to build a metal pole barn?
Yes, you will likely need a permit to build a pole barn. Contact your local authorities to ensure that you comply with zoning and building regulations.
3. Can I build a metal pole barn myself?
Yes, it is possible to build a metal pole barn yourself if you have the necessary skills and tools. However, it’s important to be aware of local regulations and building codes. If you’re unsure, consider hiring a professional.
Conclusion
Building a metal pole barn is a rewarding project that requires careful planning, the right materials, and attention to detail.
Whether you’re constructing the barn for storage, a workshop, or as a barn for livestock, following these steps will ensure a durable and long-lasting structure.
Remember that while the process can be a lot of work, the results will be worth it, providing you with a reliable and functional space for years to come.
Get the best tools for metal roofing and board and batten siding

