
Designing a pole barn? Whether it’s for farming, storage, or a garage, it’s a smart, budget-friendly build with tons of flexibility.
From layout and materials to construction tips, this guide walks you through every step to help you design a durable, functional pole barn that fits your needs perfectly.
How to design a pole barn?
Design a pole barn by first determining its purpose (storage, workshop, home). Whether you’re considering a general layout or a 30×40 barn with loft design, plan the dimensions carefully, choose materials, and decide on roof type, doors, and windows for your specific needs.
Key Takeaways
- Designing a pole barn involves careful planning and consideration of factors such as purpose, size, location, and materials.
- It’s essential to consider the environmental conditions, such as wind and snow loads, to ensure the structure is safe and durable.
- The design process includes selecting the right materials, designing the layout, and following building codes and permits.
Determine the Purpose of the Pole Barn

Before you start designing, it’s essential to clearly define the purpose of your pole barn. The intended use will dictate many aspects of the design, including size, materials, and features. For example, understanding the 30x40x12 pole barn kit price can help you budget appropriately and decide whether that size suits your functional and financial needs.
Common Uses for Pole Barns:
- Storage: Many homeowners and businesses use pole barns as storage buildings for equipment, vehicles, or livestock.
- Agriculture: Pole barns are often used for farming purposes, such as housing animals, storing feed, or sheltering crops.
- Garages: Pole barns are also popular for use as garages, providing ample space for vehicles and tools.
- Workshops: If you need a dedicated space for woodworking, metalworking, or other hobbies, a pole barn is a great option. Once you know the primary purpose, you can move on to the next stage of planning.
Decide on the Size and Dimensions
The size of your pole barn will depend on your needs and the space available.
Before starting your build, make sure to take accurate measurements of the area where the barn will sit. This helps ensure it fits within your property lines, complies with zoning laws, and gives you a clearer idea of the 20×20 pole barn cost you might be planning for.
Factors to Consider:
- Available Land: Measure the available land to determine how much space you have for the structure. Make sure to account for space around the barn for access and ventilation.
- Height Requirements: The height of the barn will depend on what you plan to store inside.
- For example, if you’re storing vehicles or equipment, the ceiling height should be sufficient to allow for easy movement.
- Width and Length: Consider the number of vehicles or equipment you need to store and how much space each item will need.
For a simple storage barn, 24 to 30 feet wide is often sufficient, with a 24×24 pole barn being a popular and practical choice. Agricultural barns, however, may need more space depending on equipment and livestock needs.
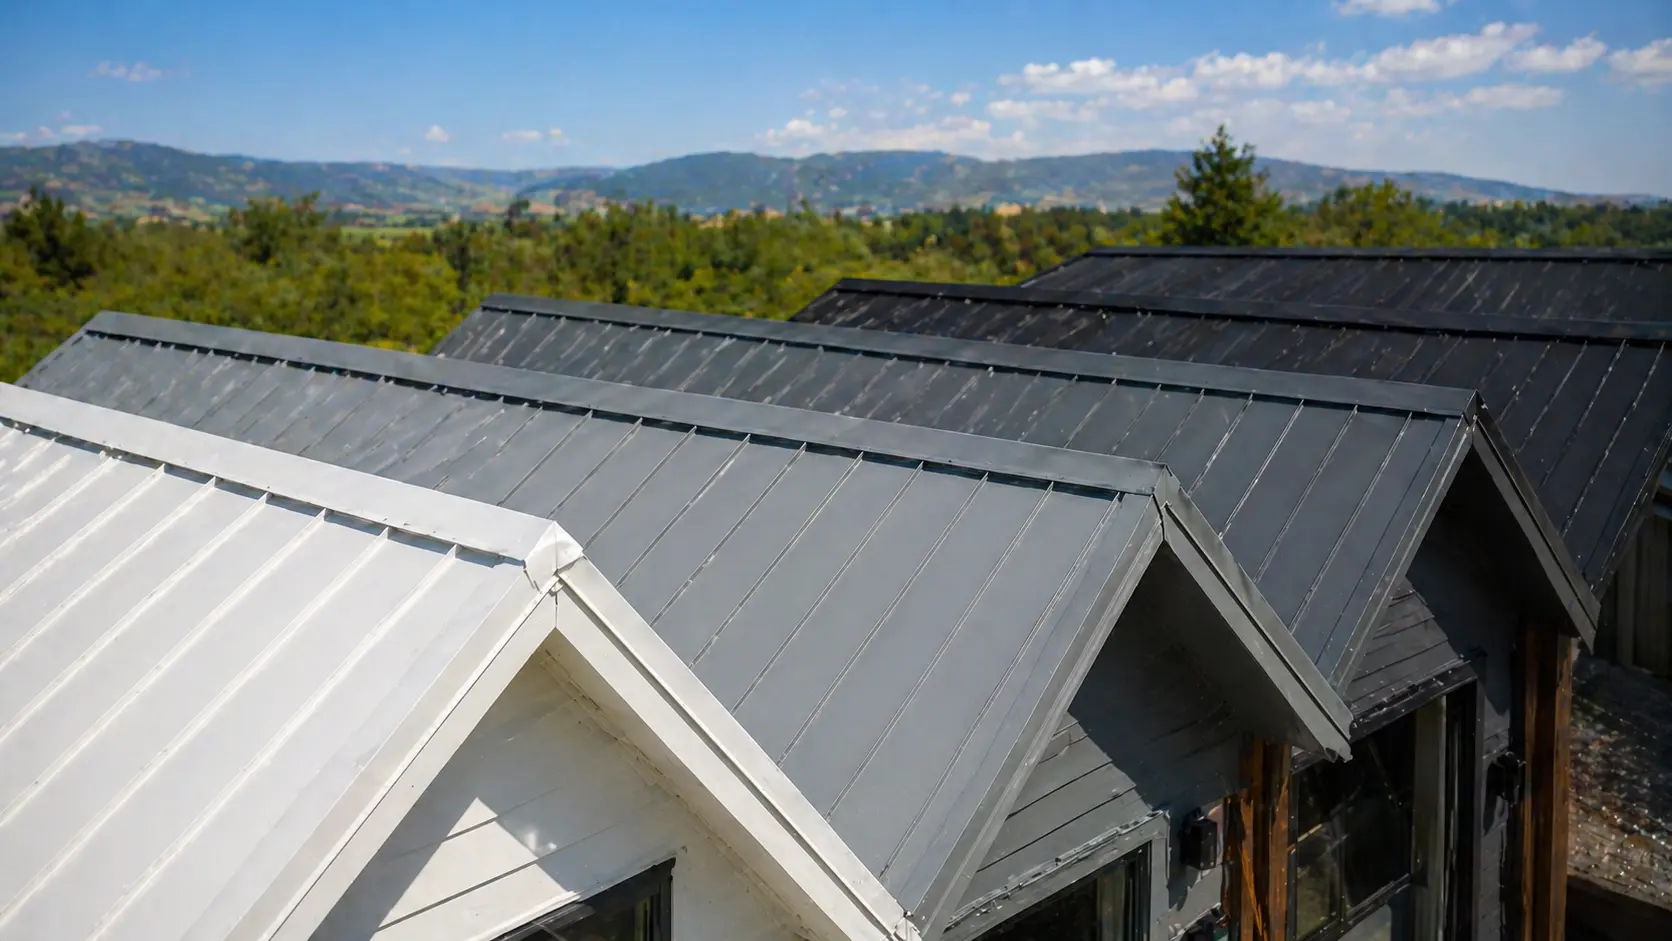
Choose the Materials for Your Pole Barn
The materials used in constructing your pole barn are crucial for durability and aesthetics.
Pole barns can be built with a variety of materials, and the choice of materials will impact the cost, strength, and appearance of the barn.
Common Materials:
- Wood: Traditionally, pole barns use wood for the posts and framing. Wood is a popular choice for its availability, affordability, and ease of use.
- However, wood can require more maintenance over time, as it is susceptible to rot and pest damage.
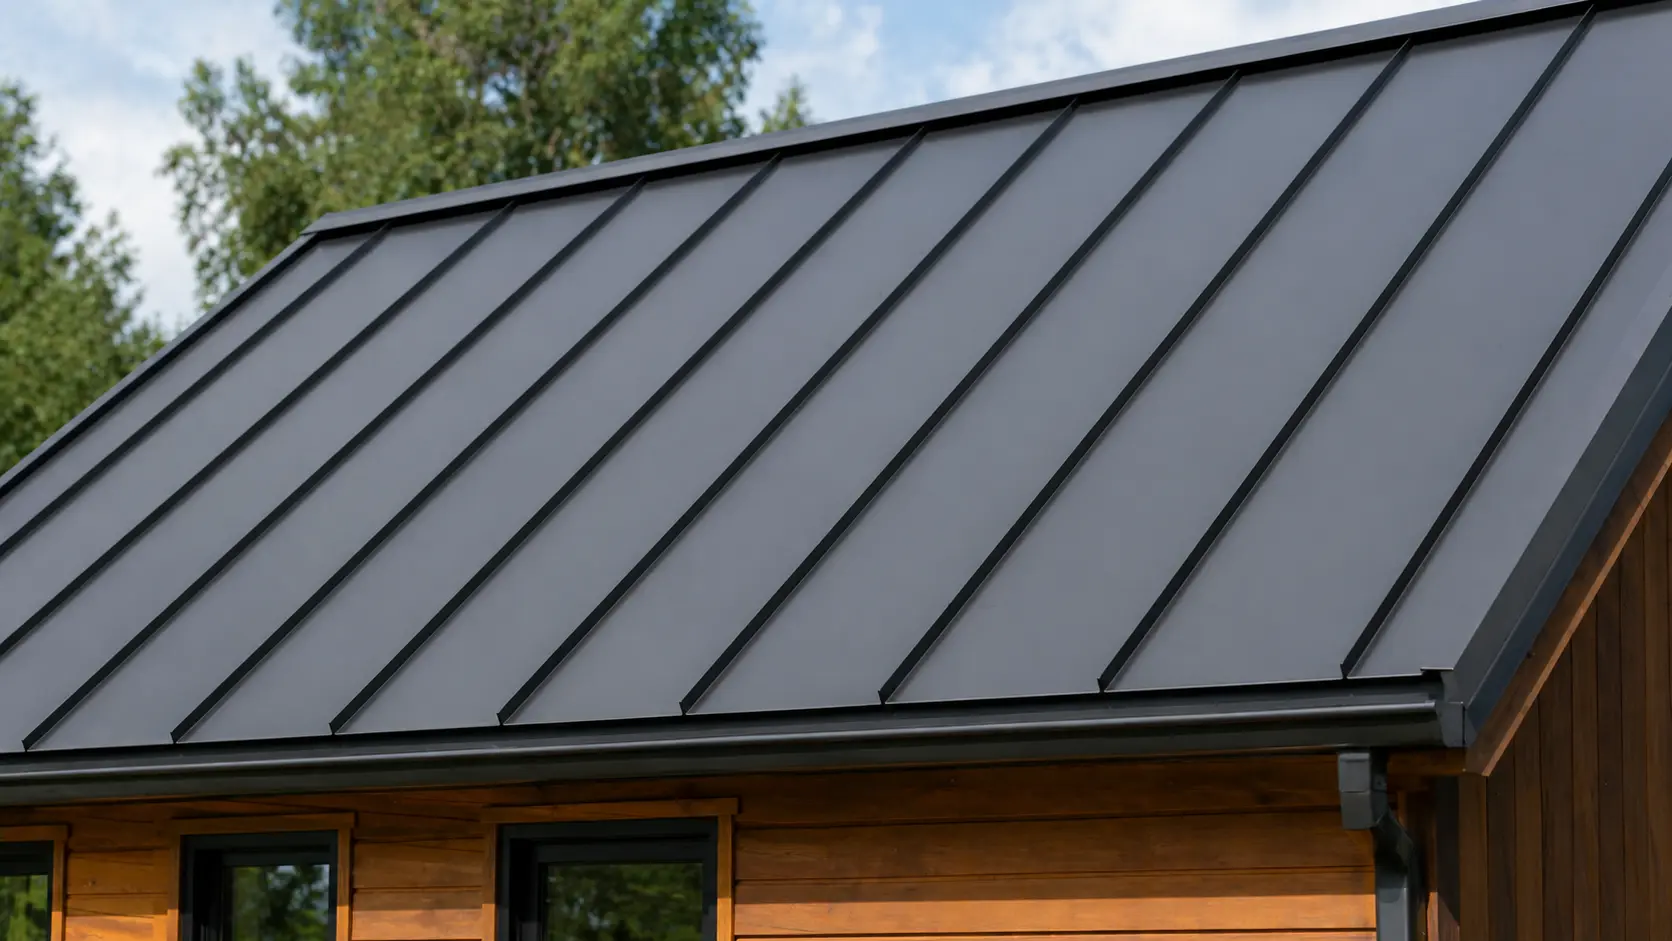
- Steel: Steel is becoming a more popular material for pole barns, especially for the roof and siding. A steel pole barn offers greater durability, is resistant to the elements, and requires less maintenance than wood. However, it can be more expensive upfront.
- Concrete:For the foundation, concrete is a common choice due to its strength and durability. Concrete footings or piers are often used to support the posts and prevent shifting.
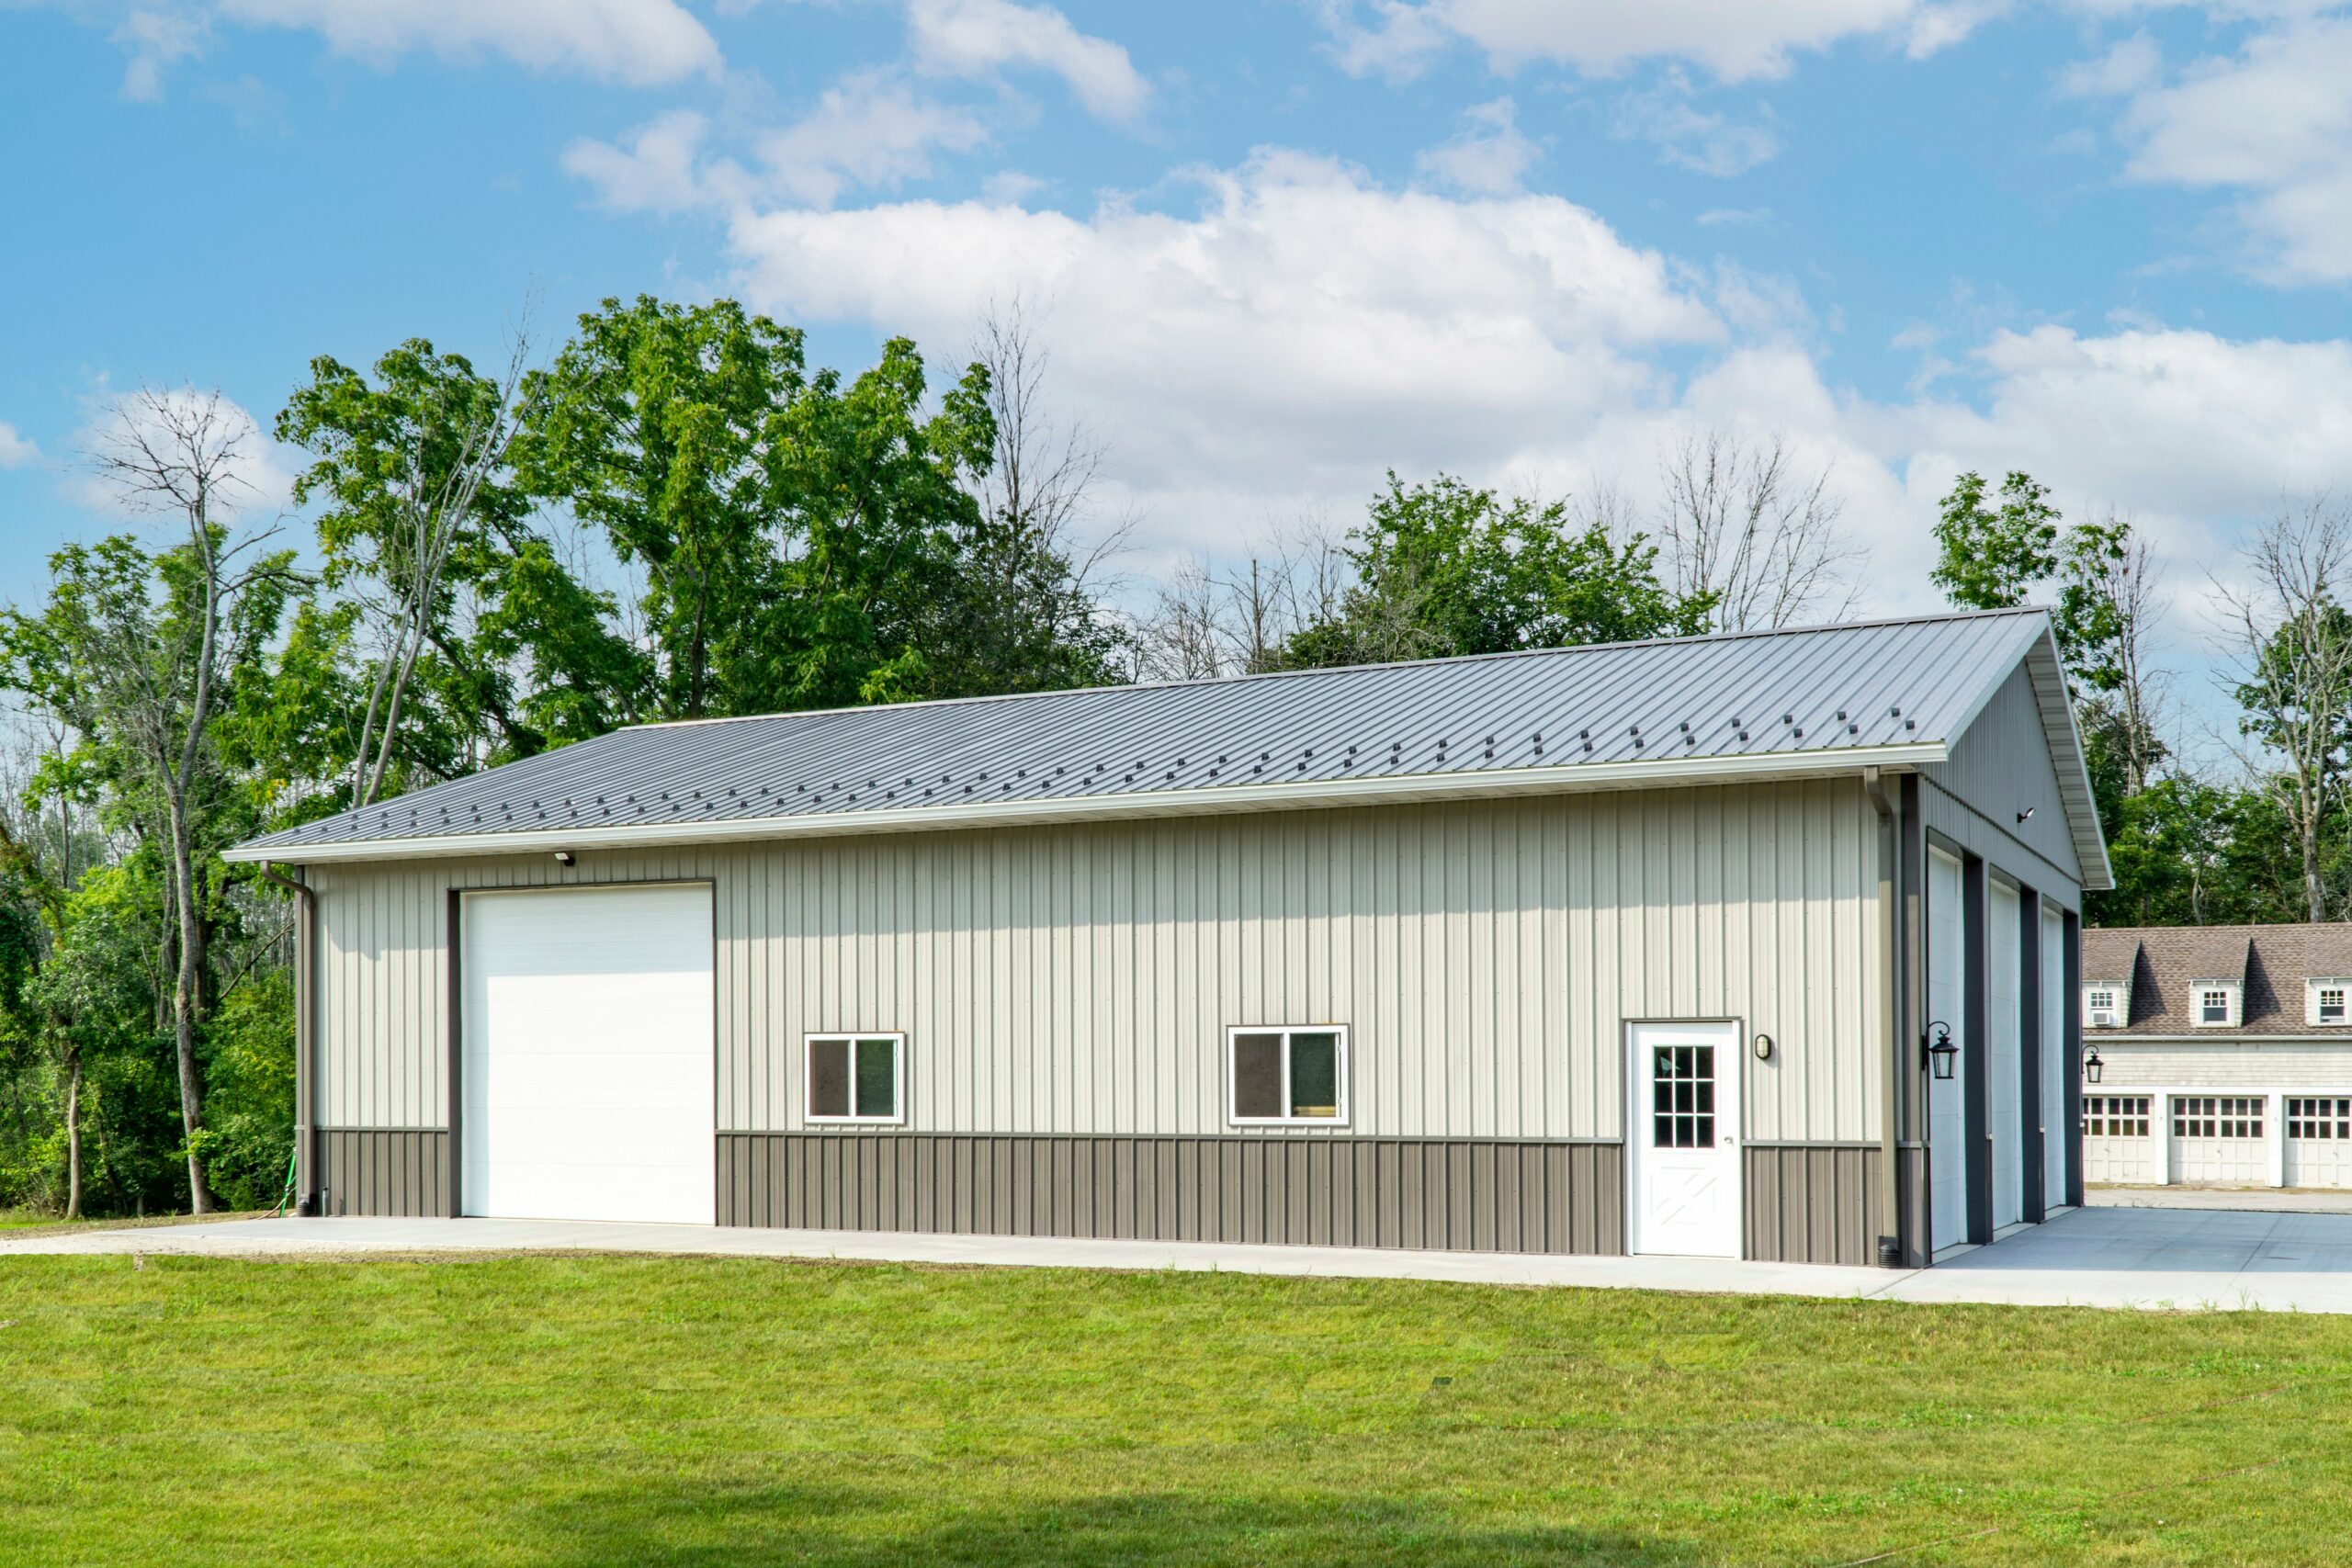
Design the Layout and Features
Once you have determined the size and materials—such as opting for a 40x60x16 pole barn kit—you can start planning the layout and additional features of the pole barn.
The design should accommodate your specific needs while maximizing the available space.
Considerations for Your Pole Barn Layout:
- Doors and Windows: Think about how many doors and windows you need. If you plan to store large equipment, such as tractors, large overhead doors are essential.
- Windows provide natural light and ventilation, so be sure to place them strategically.
- Interior Layout: Plan the interior layout based on what you intend to store or use the barn for. If it’s a workshop, you may need separate spaces for tools, storage, and workspace.
- For a storage barn, shelves or racks may be necessary.
- Electricity and Plumbing: If you plan to use the pole barn as a workshop or garage, you may need to install electricity and plumbing. Designate where outlets, light fixtures, and plumbing connections should go.
Check Local Building Codes and Permits
Before you start construction, you must check local building codes and obtain the necessary permits.
Local regulations may have specific requirements for pole barn construction, such as maximum height, set-back requirements, and material specifications.
Steps to Ensure Compliance:
- Research Zoning Laws: Zoning laws will tell you whether a pole barn is allowed on your property and where it can be built. Some areas may have restrictions on the size or location of outbuildings.
- Obtain Necessary Permits: Most jurisdictions require building permits for new construction. Contact your local planning department to find out what permits you need and the associated fees.
- Work with a Professional: A contractor or architect can help you navigate the permitting process and ensure that your design complies with all local codes and regulations.
Prepare the Site for Construction
Preparing the site is a critical step in the pole barn design process. You will need to clear the land, level the ground, and prepare the foundation before beginning construction.
Site Preparation Steps:
- Clear the Land: Remove any trees, shrubs, or obstacles from the site. This may involve hiring a professional for tree removal or earth-moving work.
- Level the Ground: A level foundation is key to ensuring your pole barn is stable. You may need to hire a contractor to grade the land to ensure it’s level and properly sloped for drainage.
- Lay the Foundation: Depending on your design, you may need to pour a concrete slab, install footings, or place concrete piers to support the posts. This will provide a solid foundation for the entire structure.
Construct the Pole Barn
With everything planned out, you can now begin building your pole barn.
If you’re not experienced with construction, it’s best to bring in a professional contractor to make sure everything is done safely and up to code. Before you start planning, [click here to see post sizes for pole barns] so you’ll know exactly what your builder will be working with.
Steps for Construction:
- Install the Posts: Begin by setting the posts in place. The posts are typically placed in the ground or anchored to concrete footings.
- Attach the Beams and Frames: Once the posts are set, the next step is to attach the beams and frames to form the structure of the barn.
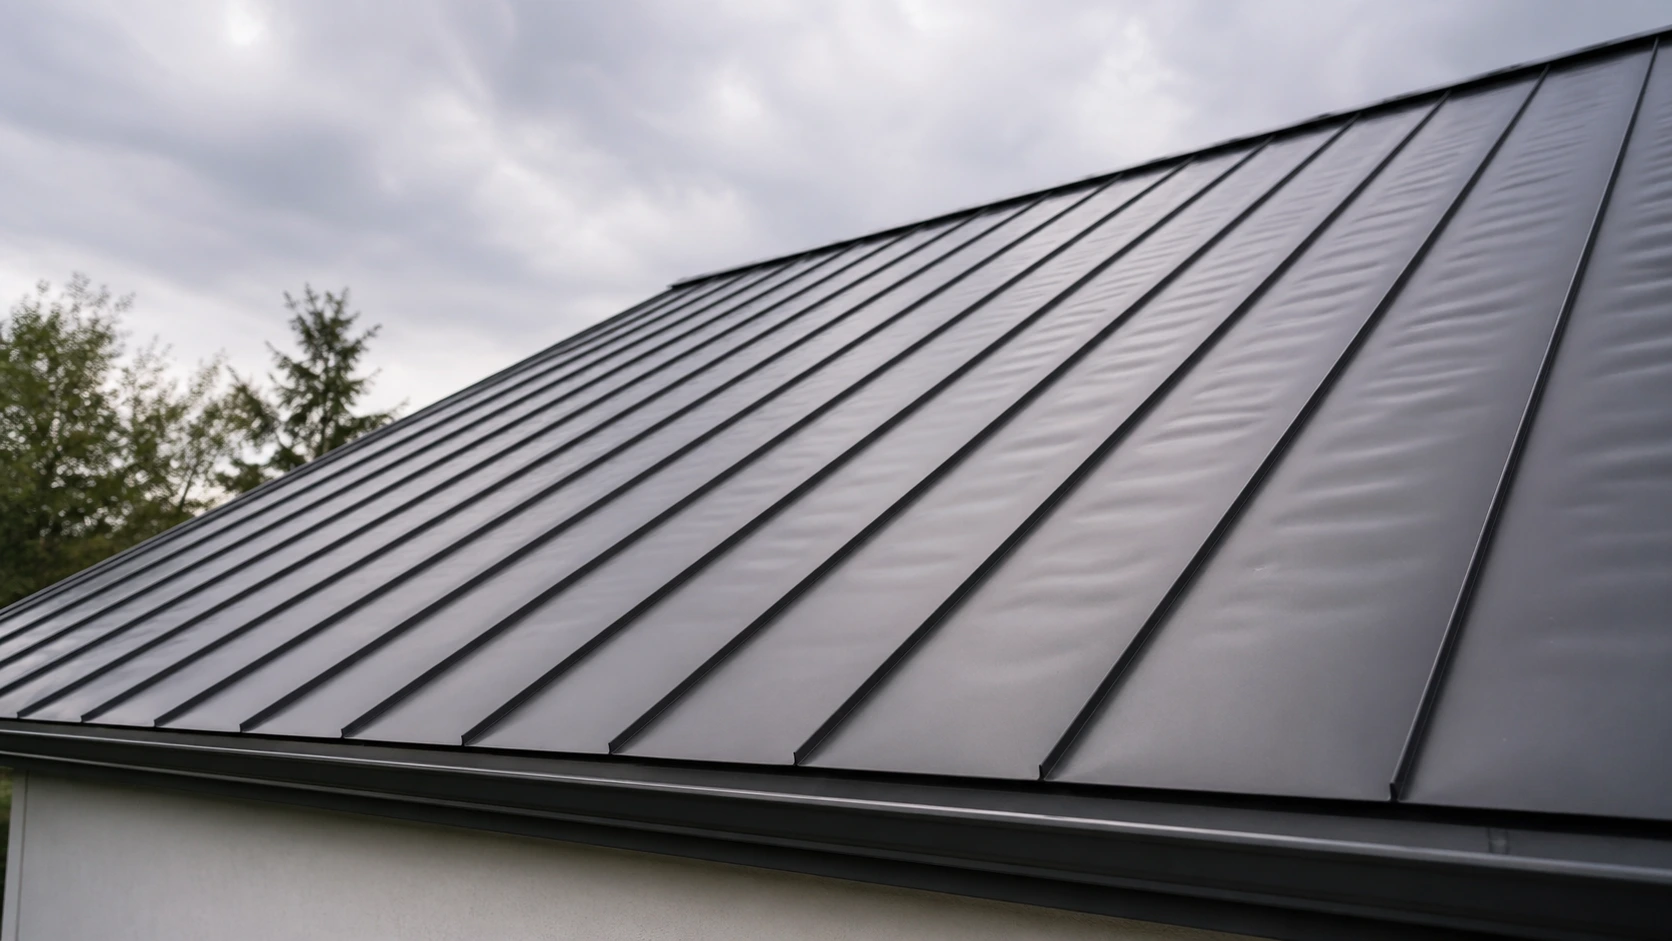
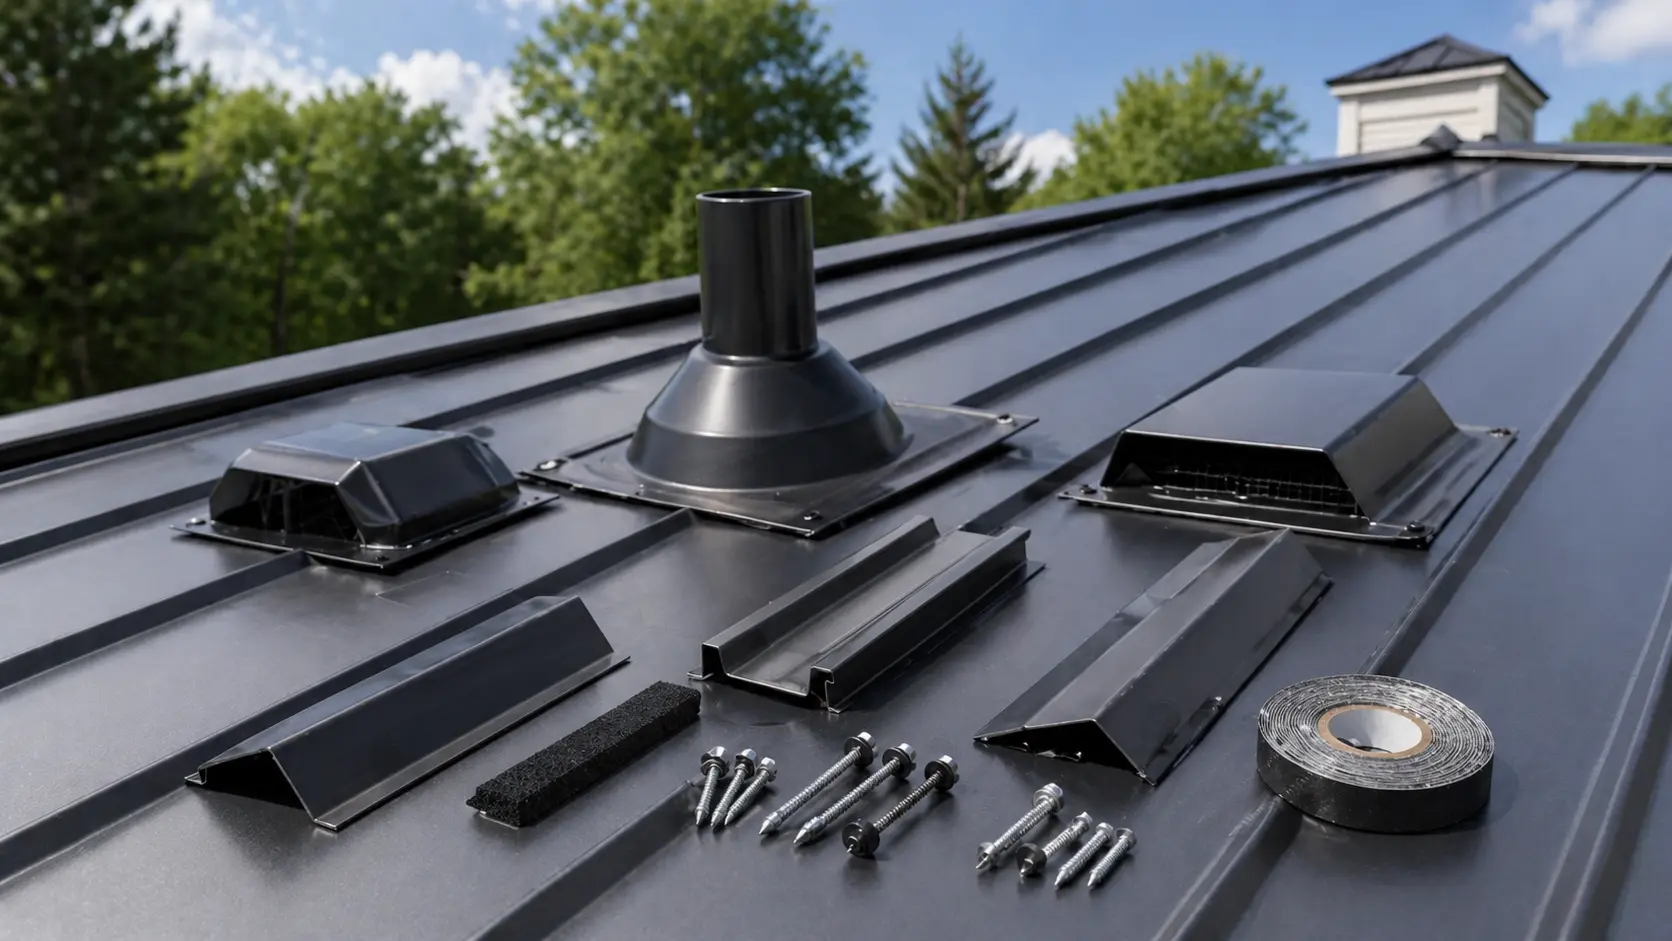
- Add the Roof and Siding: The roof and siding are typically the final steps. Choose roofing and siding materials that complement the design and offer durability against the elements.
Finishing Touches and Final Inspection

Once the barn is structurally complete, you can add finishing touches such as painting, installing doors and windows, and setting up the interior.
If you’ve installed electricity or plumbing, make sure everything is functioning properly.
Final Steps:
- Paint and Protect: If you’re using wood for your barn, apply a protective sealant or paint to ensure it’s resistant to the elements.
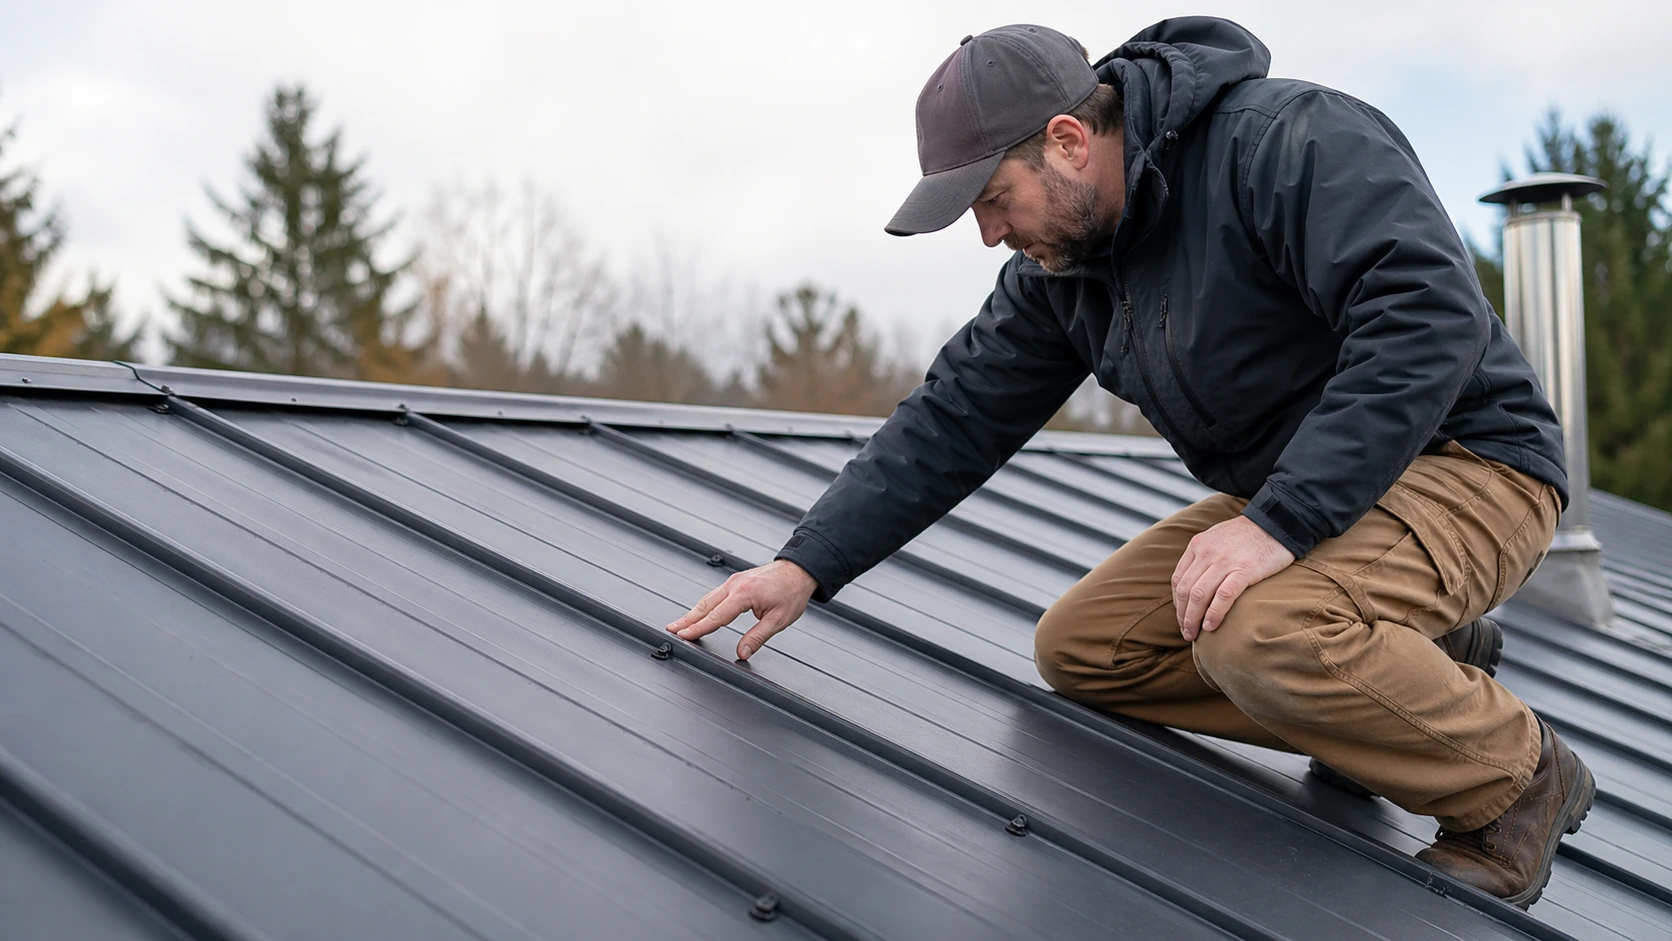
- Inspect the Structure: Conduct a final inspection to ensure everything is secure and meets local building codes. If necessary, request an official inspection from your local authority.
Frequently Asked Questions
1. How much does it cost to build a pole barn?
The cost of building a pole barn varies widely depending on factors like size, materials, location, and the complexity of the design. On average, a basic pole barn can cost between $5,000 and $15,000.
2. How long does it take to build a pole barn?
The time it takes to build a pole barn can vary based on the size and complexity of the structure. On average, construction can take anywhere from a few weeks to a couple of months.
3. Can I build a pole barn without a permit?
In most cases, building a pole barn requires a permit. It’s important to check with your local building department to ensure compliance with zoning and safety regulations.
Conclusion
Designing and building a pole barn can be an exciting project, whether you’re using it for storage, farming, or as a workshop.
By considering your needs, choosing the right materials, and following local regulations, you can create a structure that is both functional and durable.
Proper planning and professional help, if needed, will ensure that your pole barn is built to last and serves its purpose effectively for many years to come.