
Framed your pole barn with metal trusses? Now it’s time to close it in and make it functional.
From walls and roofing to doors and windows, sealing the structure is key to durability and weather protection.
This guide walks you through every step to finish your pole barn strong, secure, and ready for action.
How to close in a pole barn with metal trusses?
To close in a pole barn with metal trusses, start by attaching your roof and wall panels to the trusses, then install insulation and siding for weather protection and energy efficiency.
Key Takeaways
- Closing in a pole barn with metal trusses involves installing walls, roofing, and doors.
- The materials you choose, such as metal or wood, play a significant role in the barn’s durability and aesthetics.
- Proper installation techniques are essential for ensuring a weather-resistant, long-lasting structure.
Understanding the Basics of a Pole Barn with Metal Trusses

Before getting started, it’s important to understand the structure of a pole barn with metal trusses.
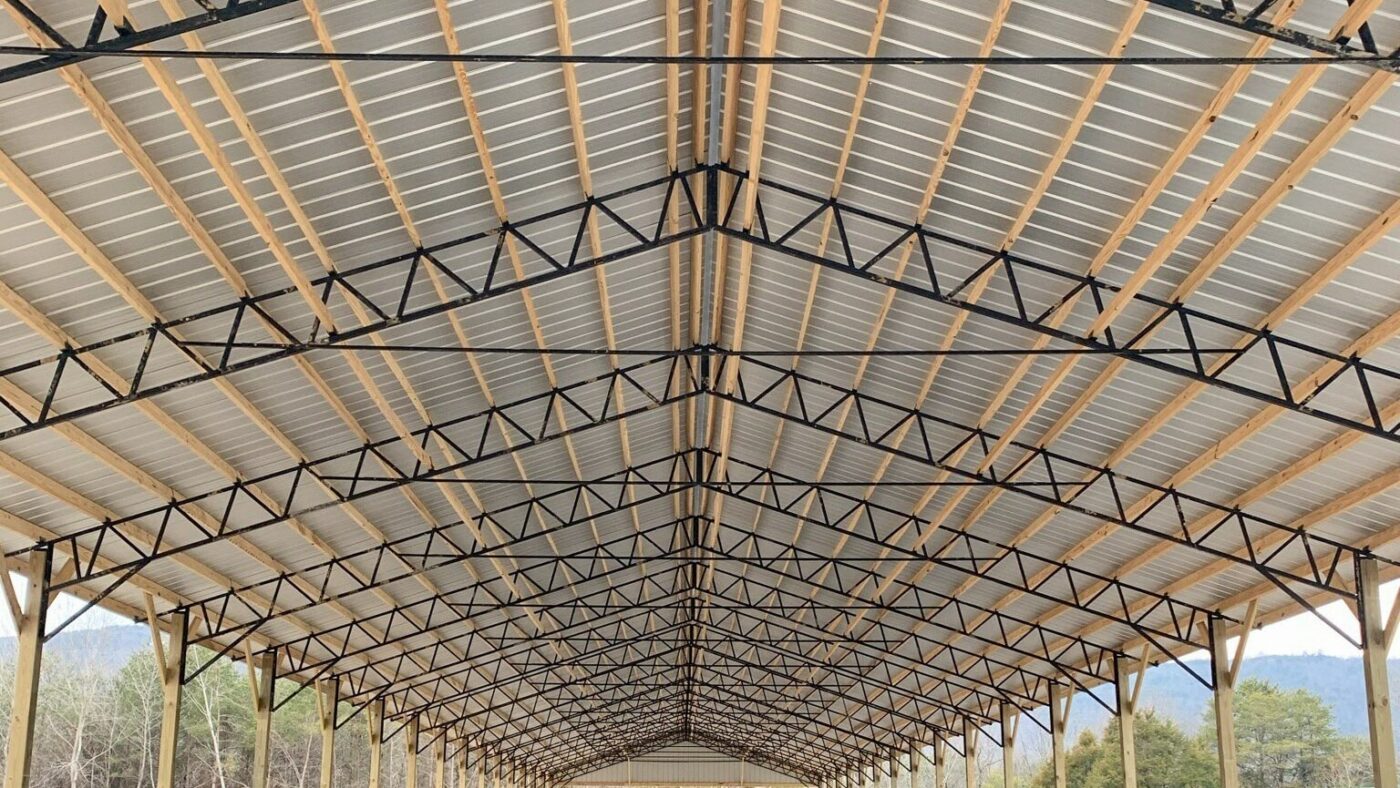
A pole barn typically consists of vertical posts, horizontal girts, and trusses. The metal trusses provide the structural framework for the roof, while the posts and girts support the walls.
Trusses
Metal trusses are used for the roof framing and are designed to span large distances without the need for interior support beams.
They are ideal for pole barns as they allow for open space, making it easier to store equipment or use the barn for other purposes.
Posts and Girts
These vertical and horizontal supports form the skeleton of the barn. When you build a pole barn with metal trusses, you’re creating a stronger, longer-lasting frame that keeps the entire structure stable.
The posts are typically made of wood or steel and are anchored into the ground, while the girts run horizontally to support the wall panels.
Now, let’s explore the steps to close in the pole barn.
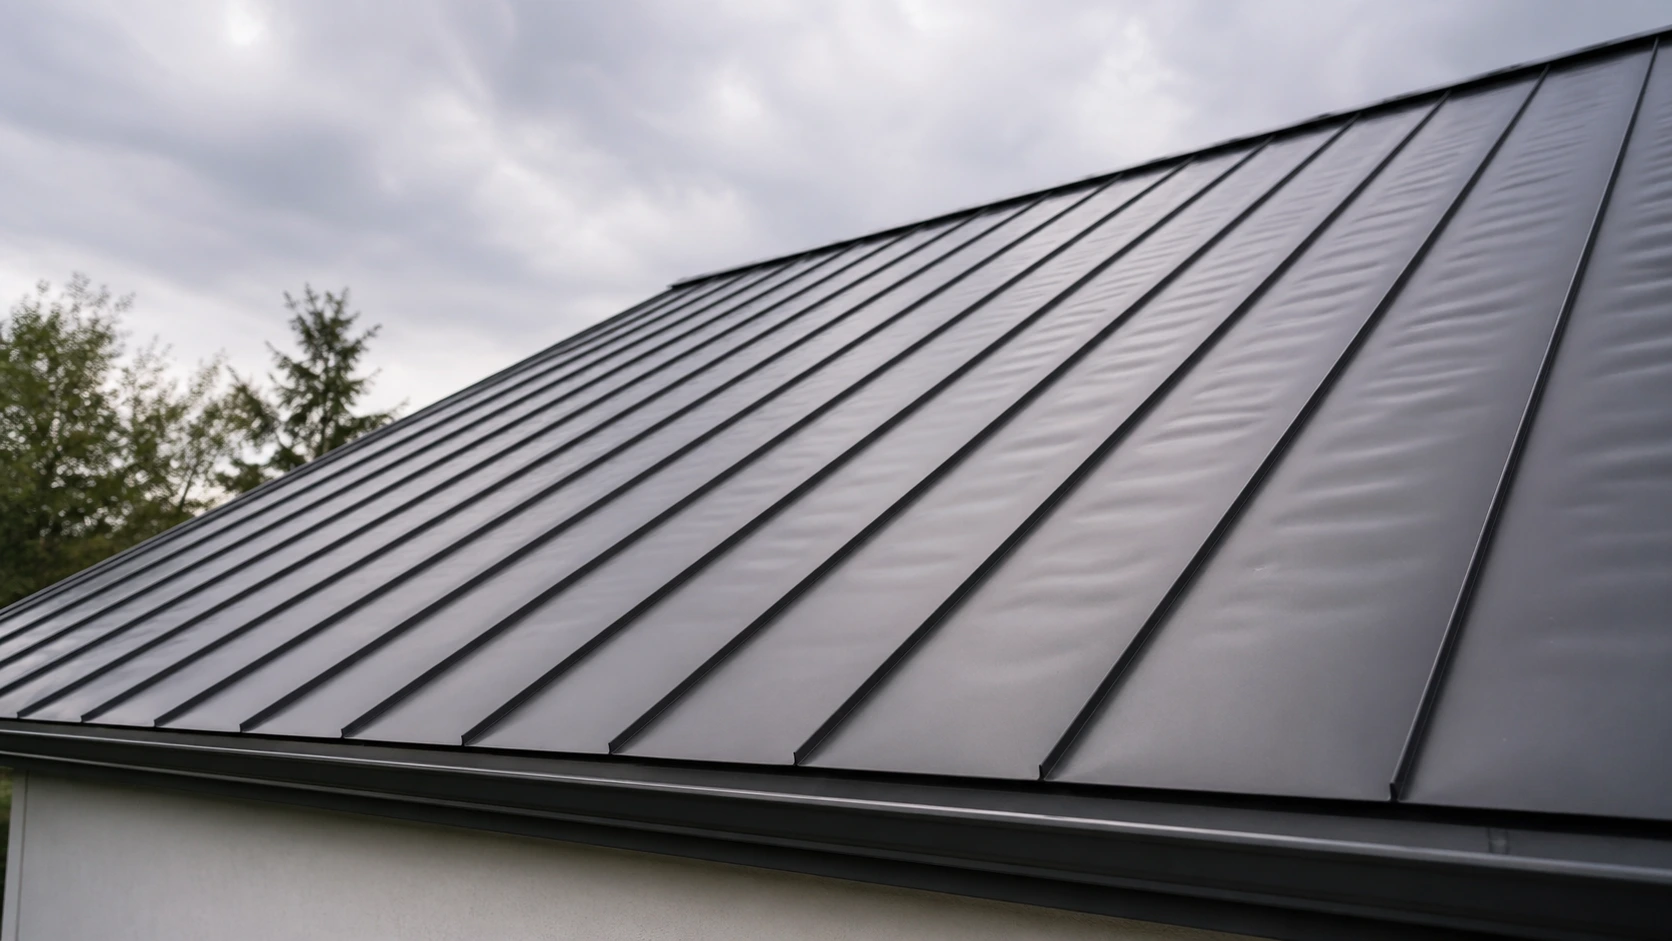
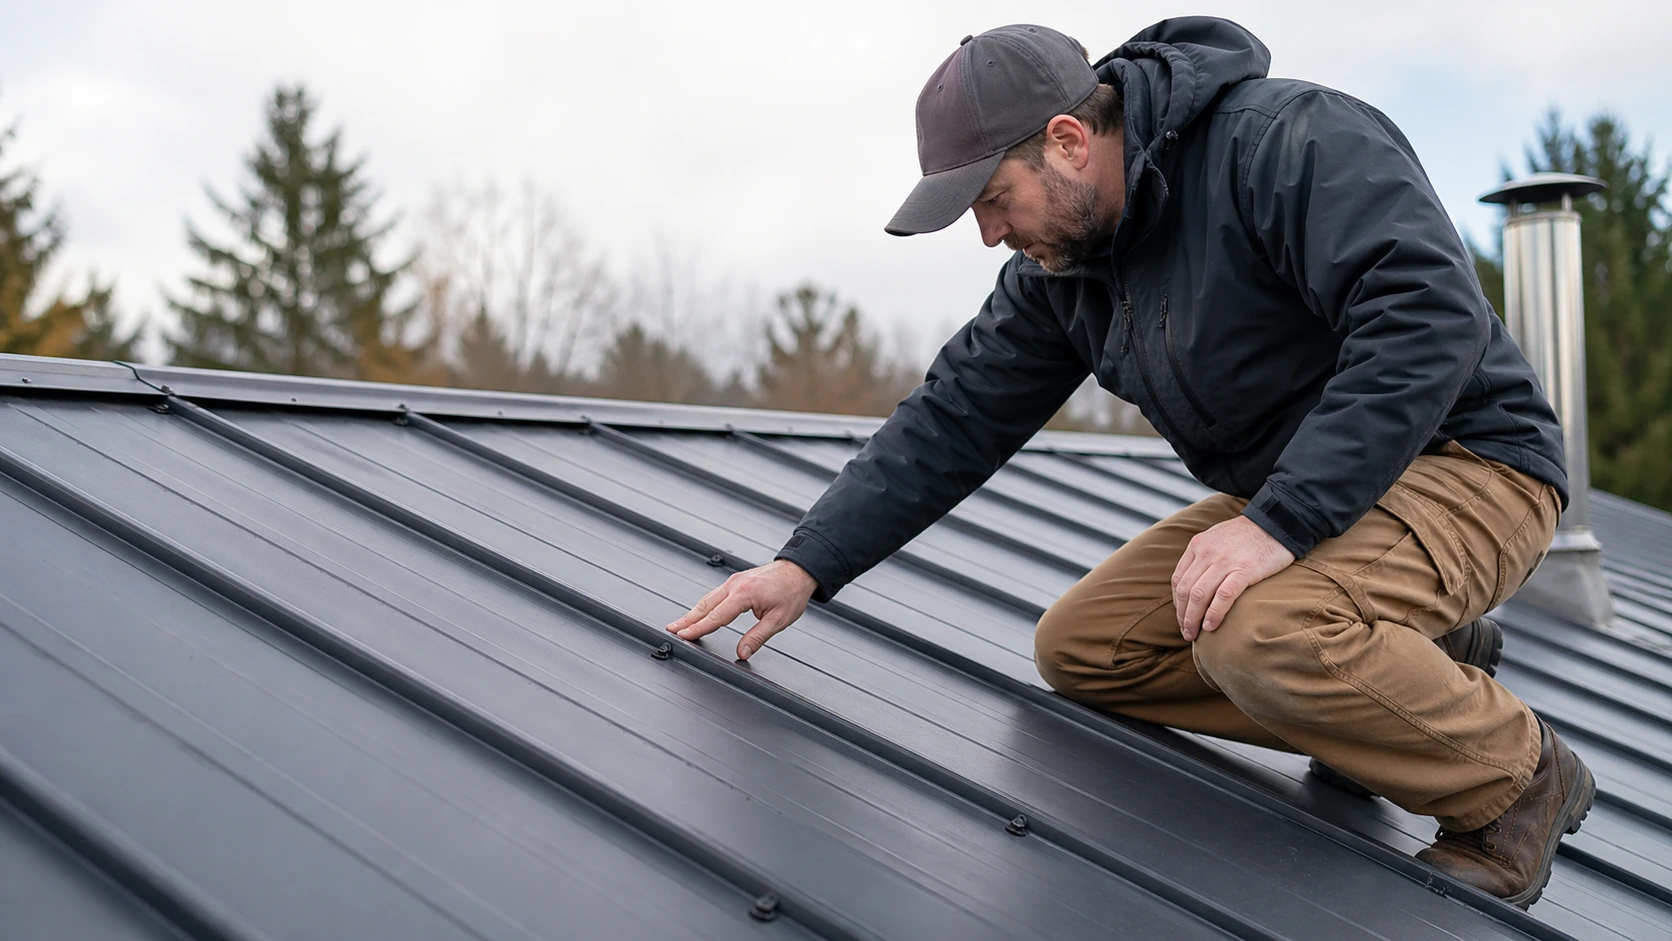
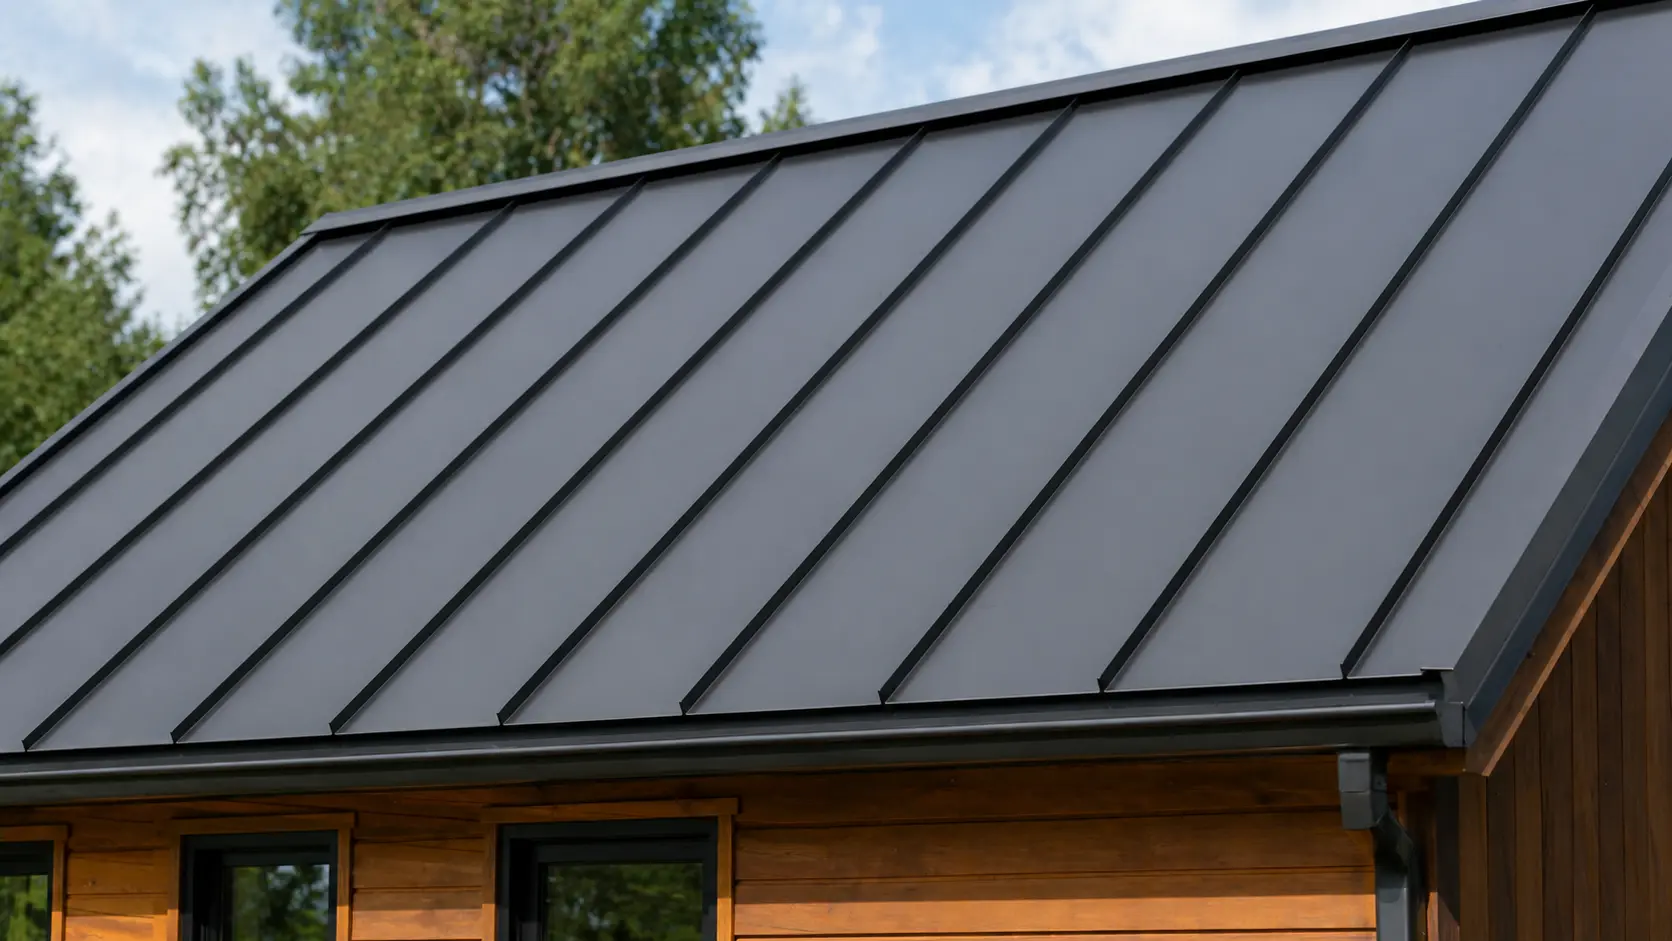
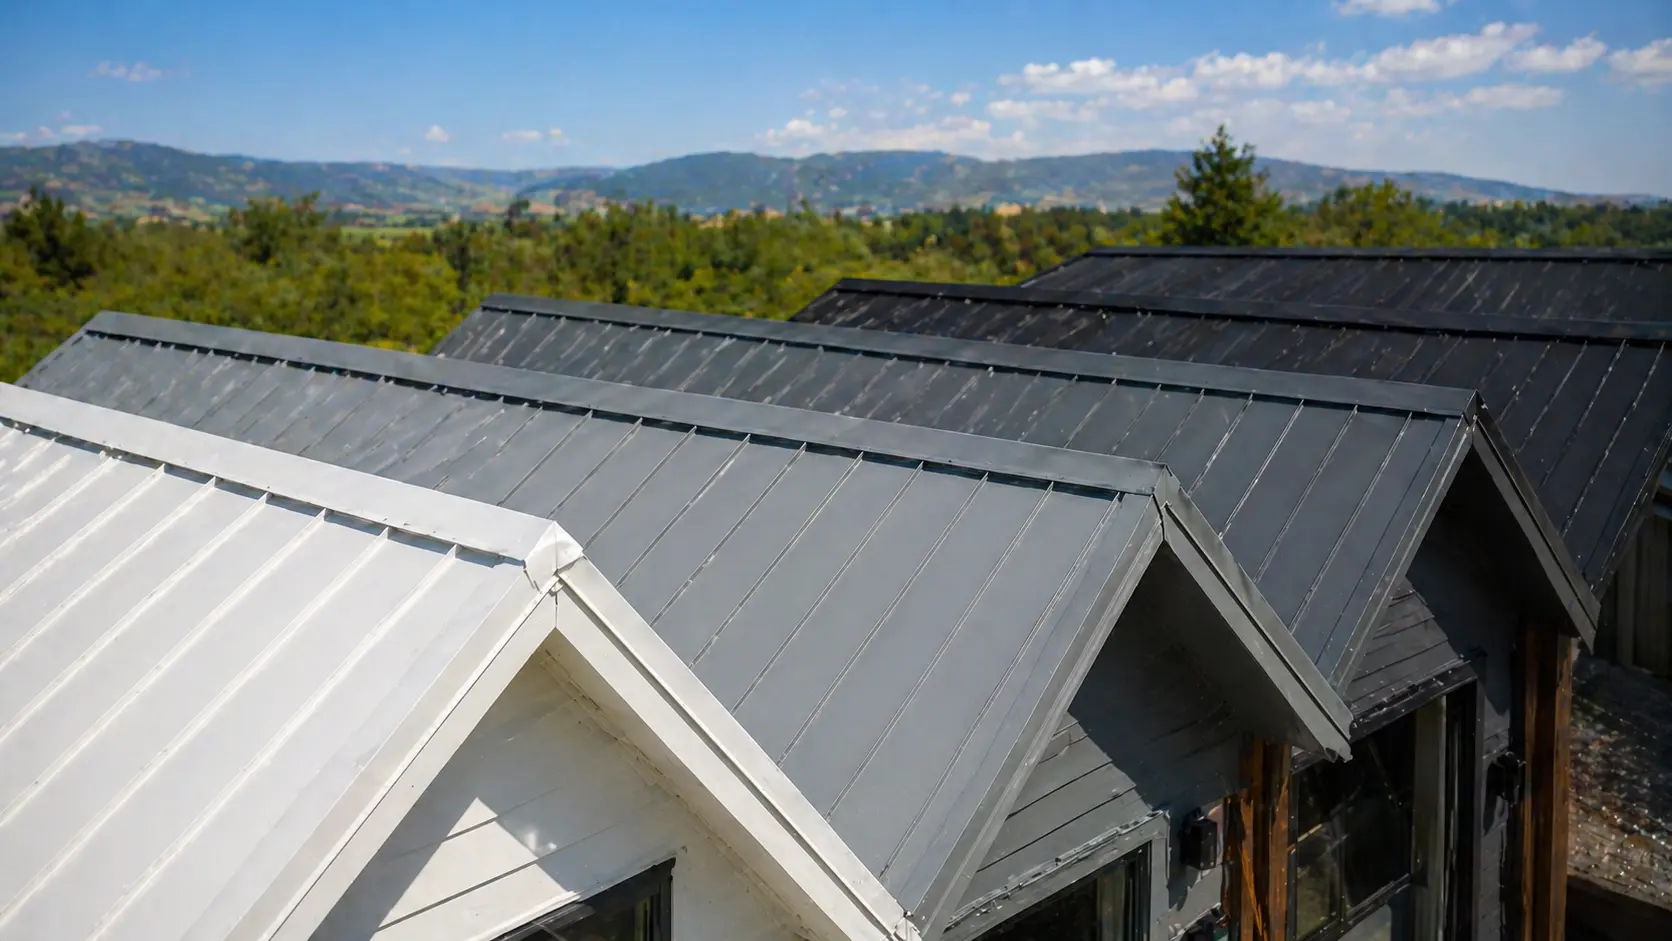
Step 1: Install the Roof
The first step in closing in your pole barn with metal trusses is to install the roof.
Since the metal trusses will already be in place, the roof installation is relatively straightforward, but it’s important to follow the correct procedure to ensure it’s secure and weatherproof.
Prepare the Roof Panels
If you’re using metal roofing panels, make sure they are pre-cut to the correct size for your barn. Whether you’re planning to build a 30×50 pole barn or a different size, it’s essential to measure the length of your roof and cut the panels accordingly.
Attach the Panels
Begin attaching the roofing panels to the metal trusses using screws or nails specifically designed for metal roofs.
Start from one side of the roof and work your way across. Make sure the panels overlap slightly to ensure that water doesn’t seep through.
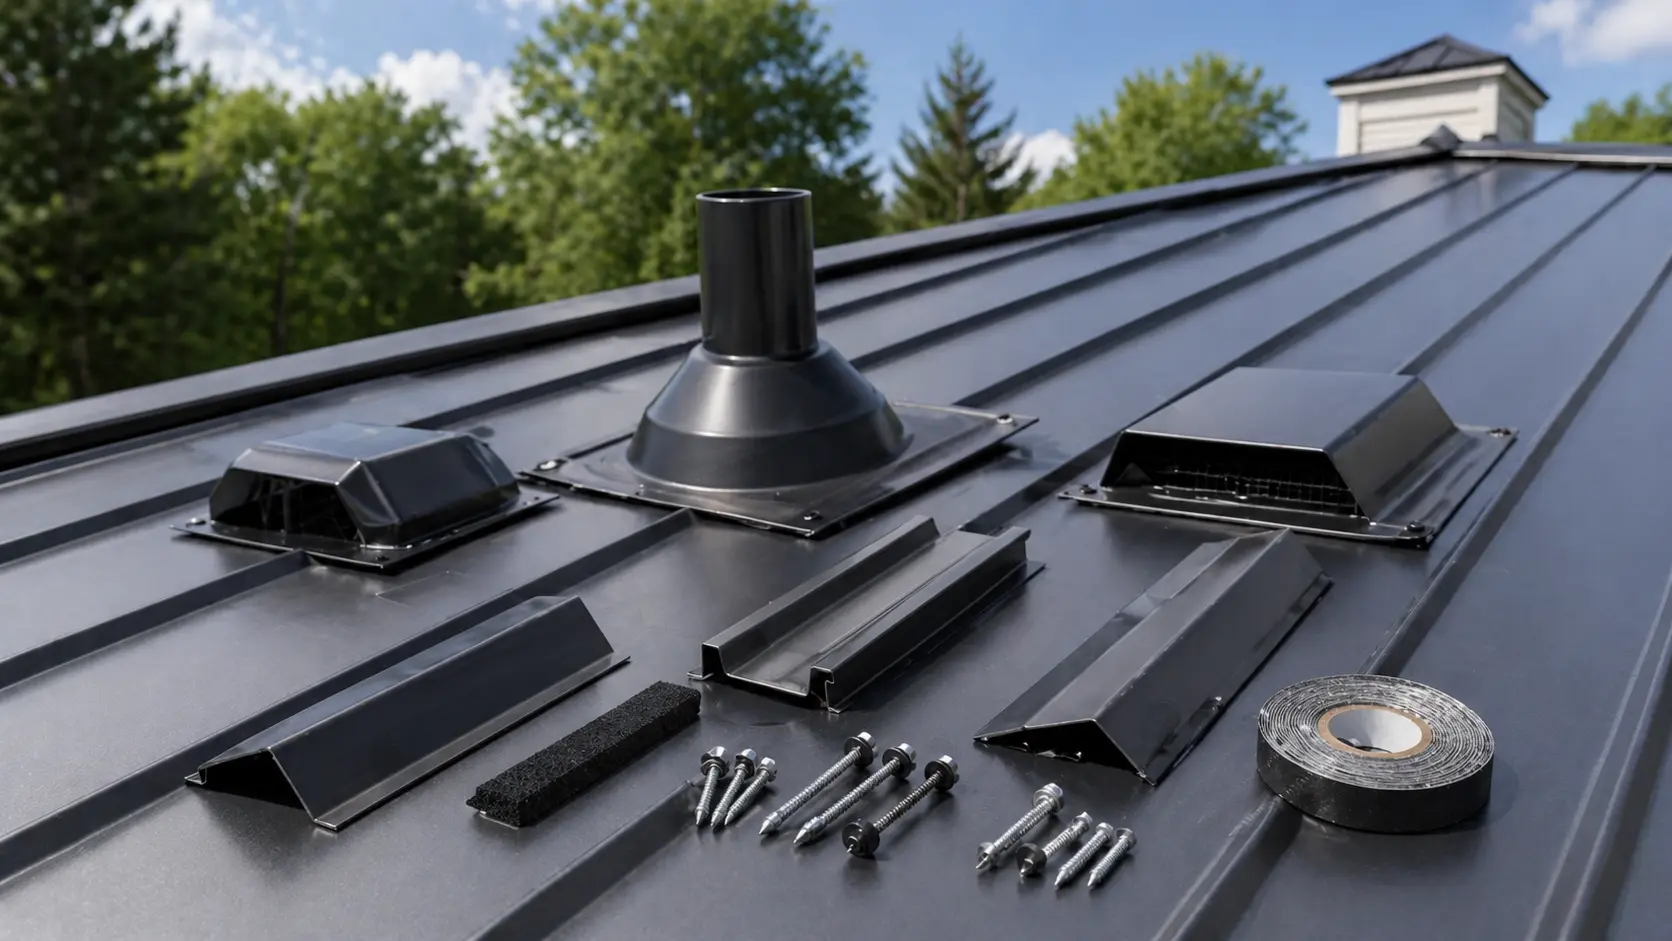
Seal the Roof
Once the panels are in place, seal around the roof edges to keep leaks out. Make sure every seam and joint is tight. For extra guidance, check this resource on see how to install a metal ceiling in a pole barn to finish the job right.
By following these steps, you’ll create a sturdy and weather-resistant roof for your pole barn.
Step 2: Build the Walls
Once the roof is in place, the next step is to build the walls. The type of wall material you use will depend on your preferences and the intended use of the barn.
Most commonly, pole barn walls are made from wood, metal, or a combination of both.
Wooden Walls
Wooden walls provide a traditional aesthetic and are relatively easy to install. To build wooden walls:
Install the Girts
Start by attaching horizontal girts to the vertical posts, ensuring everything is level and evenly spaced. Proper alignment is just as important here as when planning trusses for a 30×40 pole barn, since both steps affect the overall strength and stability of the structure.
Install Wall Panels
Attach wooden panels or siding to the girts. These can be plywood, OSB, or other types of wood panels. Use screws or nails to secure the panels tightly to the girts.
Metal Walls
Metal walls are often preferred for their durability and low maintenance. To install metal walls:
Attach Vertical Girts
Just like with wood-framed walls, you’ll begin by attaching vertical girts to the posts to support the metal panels. If you’re also planning the roof structure, it helps to know how many trusses do you need for a 30×40 pole barn span, since that will determine both strength and spacing for the rest of the build.
Install Metal Panels
Align and secure the metal panels to the girts. Make sure the panels overlap slightly to prevent water from entering through the seams.
Both wooden and metal walls offer durability, but metal is more resistant to weathering and pests.
Step 3: Install Doors and Windows

Once the roof and walls are in place, you can move on to installing doors and windows.
This step will allow you to customize the barn for your specific needs, whether you’re using it for storage, livestock, or a workshop.
Garage Doors
For a large barn, installing a garage door is often the most practical solution. Here’s how to install a garage door:
Measure the Opening
Before purchasing a garage door, it’s important to measure the width and height of the opening where the door will be installed. Taking precise measurements, much like planning out 30×40 pole barn truss spacing, ensures everything fits correctly and avoids costly adjustments later.
Install the Frame
Attach the frame for the garage door to the wall, making sure it is level and square.
Install the Door
Slide the garage door into the frame and secure it with the necessary hardware, such as tracks, rollers, and brackets.
Standard Doors
If you only need a standard entry door, pick a size that suits your space and attach it just like you would a garage door. While planning, also take time to explore siding solutions for your metal pole barn to keep the structure durable and visually consistent.
Use hinges to allow the door to swing open and closed.
Windows
For natural light or ventilation, you may want to install windows in your pole barn. The process for installing windows is similar to installing a standard door:
Cut the Opening: Measure and cut the opening for the window in the wall material.
Install the Window: Place the window into the opening and secure it with screws or nails.
Frequently Asked Questions
1. Can you use metal siding directly on metal trusses?
No. Metal trusses need girts or wood framing between them to support siding. Siding cannot attach directly to open trusses without support.
2. Do I need a permit to enclose a pole barn?
It depends on your local building codes. Always check with your county or city before starting construction.
3. Will enclosing a barn increase its value?
Yes. A fully enclosed barn adds functionality, weather protection, and resale value—especially if it’s insulated and has power or water.
Conclusion
Closing in a pole barn with metal trusses is a process that involves careful planning and proper execution.
By following these steps installing the roof, building the walls, adding doors and windows, and considering insulation and finishing touches you’ll create a secure, weather-resistant, and functional structure for your home or business.
Find out more about northridge metal roofing