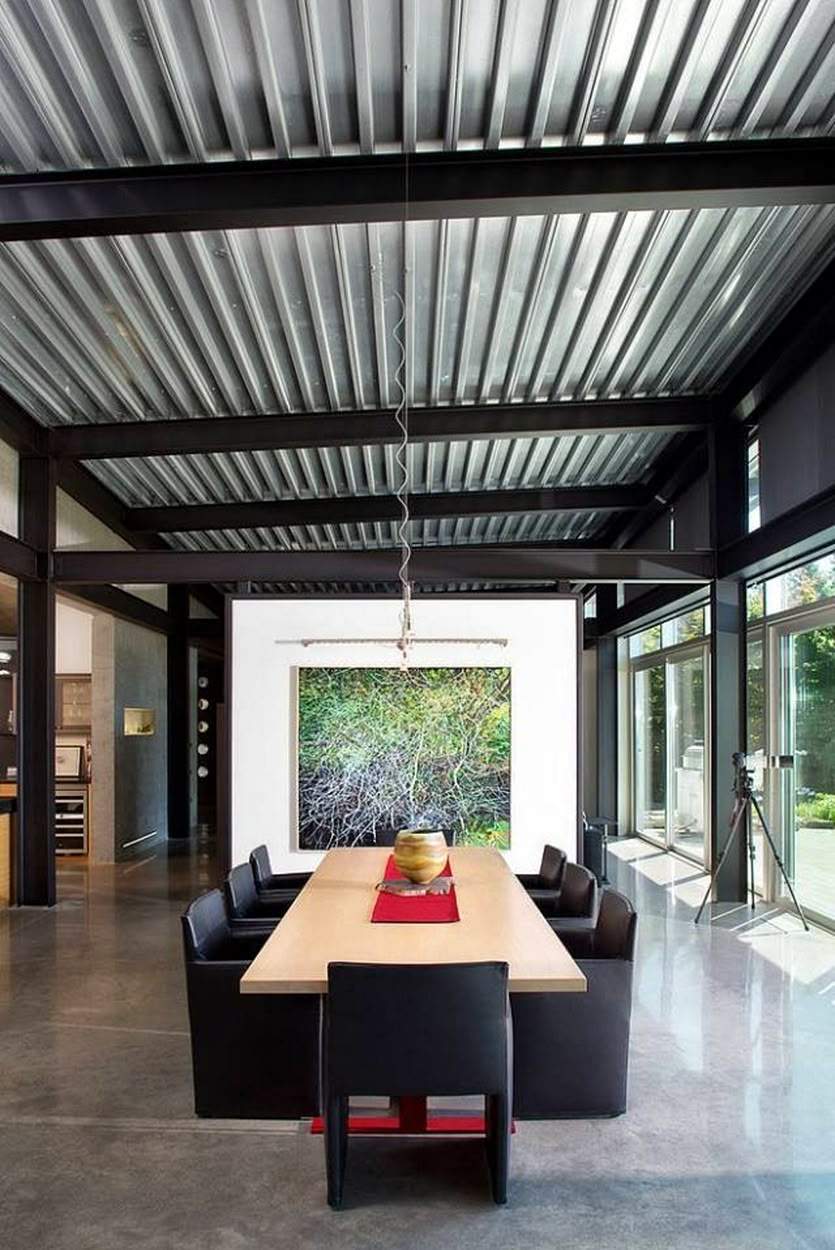
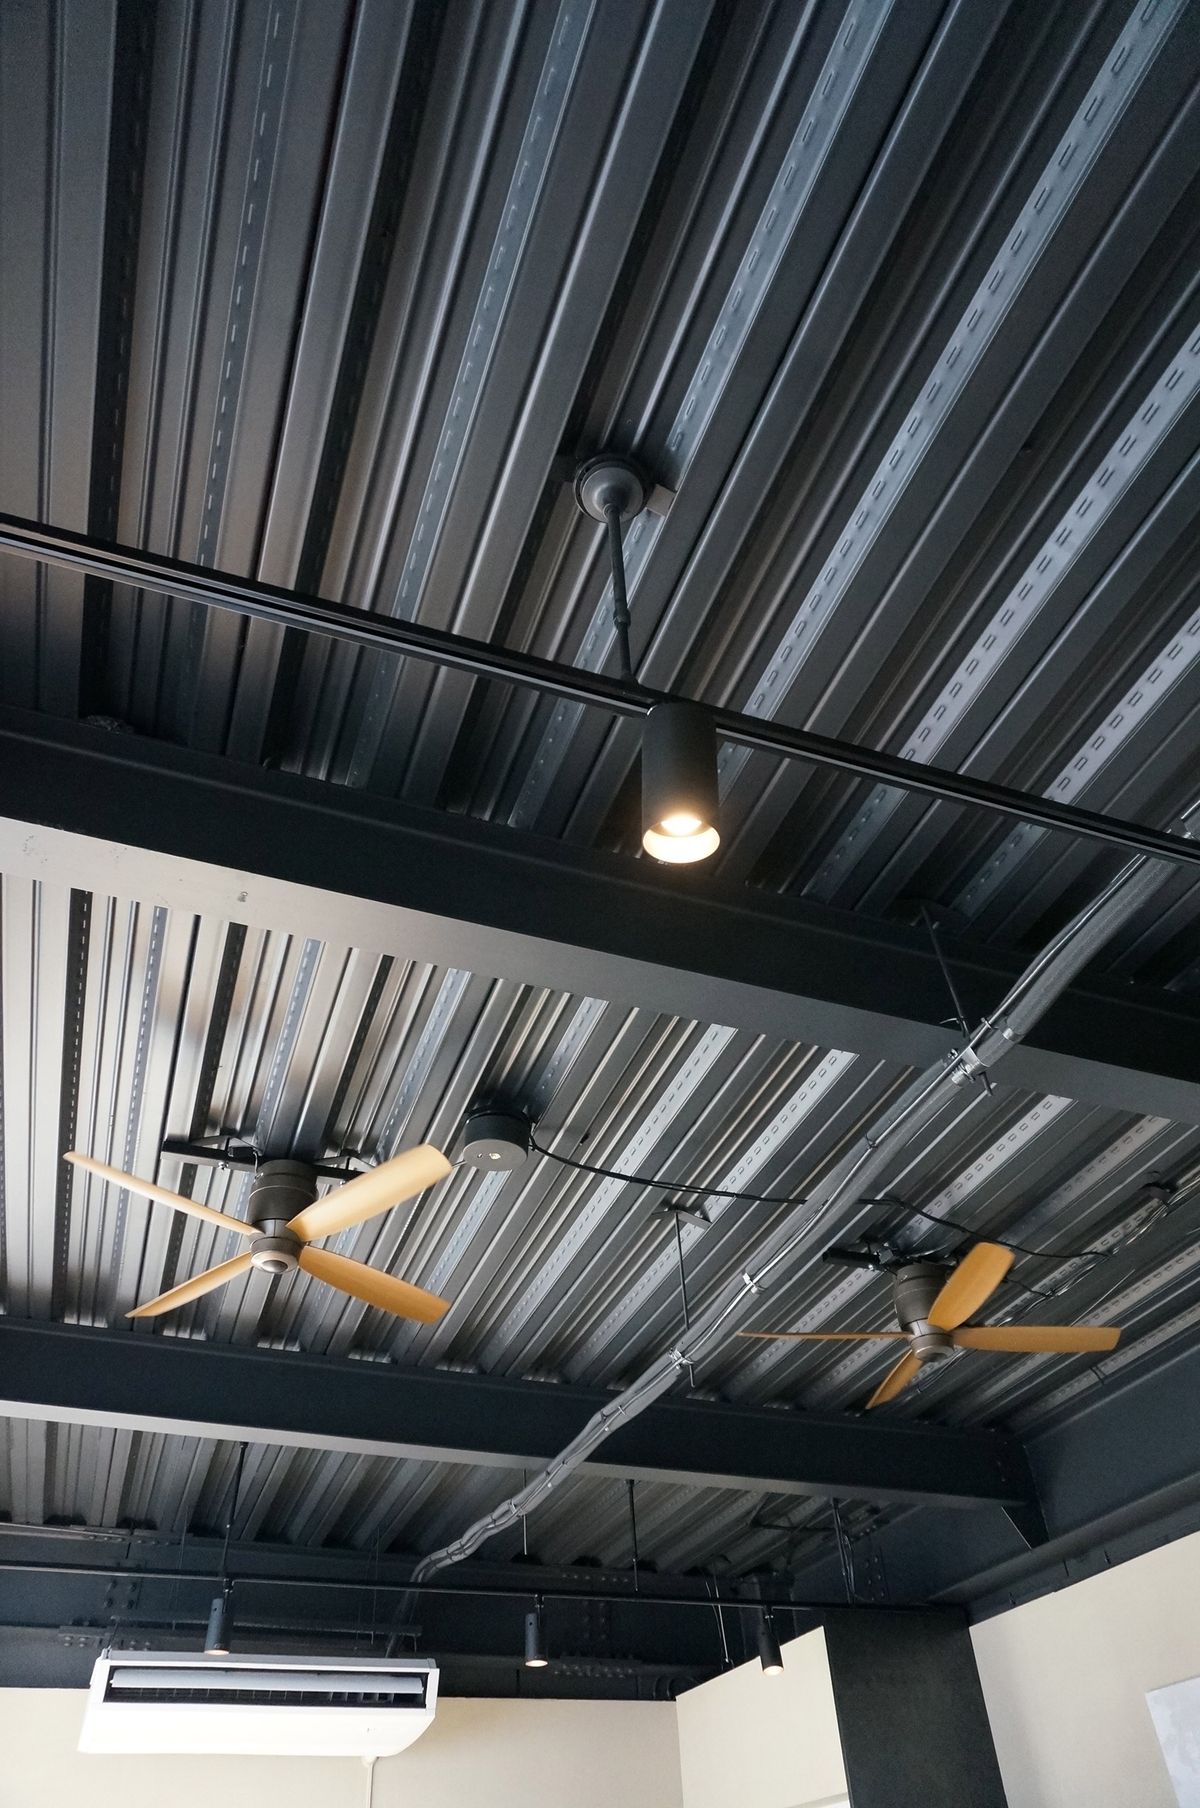
Installing a metal ceiling in your pole barn might look tough, but it’s a straightforward project. A finished ceiling adds strength, improves insulation, and creates a clean look. This guide covers the tools, steps, and tricks to install metal ceiling panels smoothly.
How to install a metal ceiling in a pole barn?
To install a metal ceiling in a pole barn, measure the space, prepare the framing, add insulation, attach panels, and finish with trim.
Key Takeaways
- Metal ceilings add durability, insulation, and a clean finish.
- Essential steps: measure, prep, insulate, install panels, trim edges.
- Use safety gear, work with a partner, and maintain regularly.
Why Install a Metal Ceiling in a Pole Barn?

Keeps Things Cooler (and Warmer)
Metal ceilings reflect heat in summer and trap warmth in winter. That means you spend less on energy while staying comfortable inside.
Cleaner Look, Less Hassle
No one wants to stare at exposed insulation. Metal panels give your barn a sharp, finished vibe that’s easy to wash down with a hose.
Protects Your Investment
Dust, pests, and moisture can damage open rafters. A metal ceiling shields your barn interior, keeping tools, equipment, and livestock safe.
Long-Term Flex
Wood sags and warps. Metal stays tight. Install it once, and you’re set for decades with almost no upkeep.
Tools and Materials You’ll Need
Measuring & Marking
Grab a tape measure and chalk line. Accuracy here saves you from crooked panels and extra headaches later.
Cutting & Fastening
You’ll want tin snips or a metal saw for clean cuts. A drill with self-tapping screws is your cheat code for fastening panels tightly and fast.
Safety Gear
Gloves, safety glasses, and a sturdy ladder are non-negotiable. Protect yourself properly before lifting heavy panels overhead.
Panels & Supports
Metal ceiling panels, furring strips, and fasteners make up the core kit. Think of them as the tux and cufflinks of your barn ceiling.
Step 1: Plan and Measure Your Ceiling Space
Get the Big Picture
Before you start lifting panels, map out your ceiling space. Grab a notebook, sketch the layout, and think about lights, fans, or vents you’ll need to cut around.
Measure Twice, Regret Never
Use a tape measure to grab the length and width of the barn. Then double-check it. A few extra minutes here saves you from panels that don’t line up later.
Spot the Sneaky Obstacles
Look for beams, trusses, or other obstacles that could disrupt panel placement. Planning around them now saves time and frustration later.
Step 2: Prepare the Pole Barn for Installation
Clear the Space
First things first, clean out the barn. Move tools, tractors, or anything that’ll get in the way. A clear space means fewer headaches when lifting panels.
Check the Structure
Give the framing a quick inspection. Tighten loose screws, replace warped boards, and make sure posts are solid. Your ceiling only looks good if the bones are solid.
Add Backing Where Needed
If you’ve got wide gaps between trusses, add 2x4s or furring strips. This gives the metal ceiling panels something firm to grab onto, keeping the install smooth and steady.
Step 3: Add Insulation (Optional but Recommended)
Why Insulation Helps
Think of insulation as your barn’s hoodie. It keeps the heat in during winter and blocks the summer scorch. You’ll save on energy and cut down on sweaty afternoons.
Choosing the Right Material
Foam boards offer efficiency with minimal effort, while fiberglass is budget-friendly but needs careful handling. Choose based on budget and performance needs.
Fiberglass is more budget-friendly but needs extra care when installing. Pick what matches your barn’s drip and your wallet.
Quick Install Tips
Slide insulation between trusses before the ceiling panels go up. Seal any gaps so air doesn’t sneak through. It’s the cheat code for comfort and efficiency.
Step 4: Install the Metal Ceiling Panels
Start at One Corner
Kick things off in a corner and keep the first panel straight. This first piece is your anchor, so get it right. If it’s off, the rest will look like a crooked smile.
Line Up and Lock In
Slide each new panel into place, making sure seams overlap tightly. Use self-tapping screws through the raised ribs, not the flat spots. That way, the panels flex less and stay snug.
Keep It Tight, Not Overkill
Screws should be snug but not over-tightened. Too much pressure can warp the panels and ruin the finish. Too much pressure warps the panel and look messy. Think firm handshake, not bone-crusher.
Work Your Way Across
Move steadily across the ceiling, panel by panel. Keep checking alignment as you go so you don’t end up fighting gaps at the far wall. A chalk line or laser makes you look pro, even if it’s your first time.
Finishing Touch
Once all panels are up, add trim where the ceiling meets the walls. It cleans up the edges and makes the whole barn feel dialed in instead of half-done.
Step 5: Trim and Finish Edges
Cut Clean Lines
Once the panels are up, it’s time to handle the edges. Use tin snips or a metal saw for sharp, straight cuts. Clean lines give your ceiling that pro look.
Add Trim for Style
Edge trim isn’t just cosmetic; it hides gaps and locks panels tight. Snap it in place around corners and ends for a neat finish.
Seal It Up
If you’re aiming for max durability, add a bead of sealant where trim meets panel. Keeps dust out and the ceiling drip-free.
Safety Tips During Installation
Gear Up First
Gloves, goggles, and a sturdy ladder aren’t optional. They’re your starting lineup. Protect your hands, eyes, and balance before you even lift a panel.
Watch Your Head
Metal sheets can be sharp and heavy. Metal panels are sharp and heavy. Wear protective gear and stay cautious when lifting them overhead.
Secure the Ladder
Set your ladder on solid ground. Wobble while holding steel overhead, and it’s game over.
Don’t Solo It
Grab a buddy. One holds, one fastens. Twice the speed, half the sketchy moments.
Maintenance Tips for Your Metal Ceiling
Keep It Clean
Dust and cobwebs love open beams. A quick sweep with a soft broom or a shop vac keeps the ceiling sharp.
Watch for Moisture
If you notice condensation, check ventilation immediately to prevent moisture damage to your ceiling. Check ventilation before water messes with your finish.
Tighten Loose Screws
Metal shifts with temperature. Every few months, give fasteners a quick once-over to keep things snug.
Spot Problems Early
Rust or scratches? Touch them up fast. A little attention now saves you from pricey fixes later.
Conclusion
Installing a metal ceiling in your pole barn is a straightforward project with the right prep, tools, and steady work. Once complete, you’ll enjoy a clean, durable, low-maintenance ceiling for years.
Once the panels are locked in, you’ve got a ceiling that flexes style and function. Clean look, long life, and way less hassle than wood.
So grab your gear, line it up right, and let that barn shine like it should.

