

If you are wondering how to apply closure strips that metal roof installers recommend, you are likely looking to protect your building from the unpredictable Michigan weather. While metal panels provide the primary shield for your home or barn, they are not perfectly flat. The ribs and valleys in the metal create small gaps at the ridge and eaves that insects, debris, and driving rain can exploit. This guide will walk you through the essential process of selecting and installing these critical roof sealing materials to ensure your structure remains bone-dry and energy-efficient for decades.
What Are Closure Strips in Metal Roofing and Why Are They Important
Closure strips are specialized inserts designed to fill the gaps between metal roofing panels and flat surfaces like the ridge cap or eave trim. Because metal roofing has a corrugated or ribbed profile, there is naturally a space left open when a flat piece of trim is placed over it. Without these strips, your roof would essentially have dozens of tiny “open windows” inviting trouble inside.
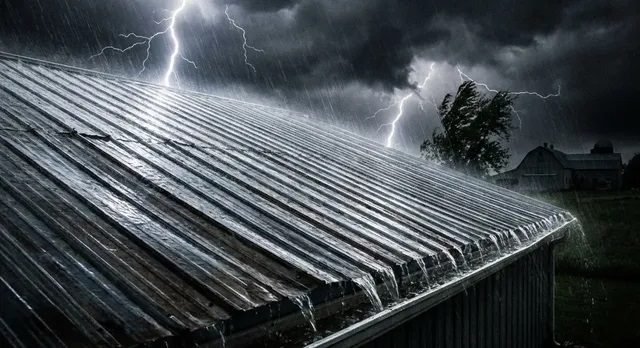
The importance of these strips cannot be overstated in a metal roof waterproofing strategy. They act as a physical barrier against “wind-blown rain,” which can actually travel upward under a ridge cap during a heavy storm. Beyond moisture, they block pests like wasps and birds from nesting in your roof structure. They also play a role in roofing weatherproofing systems by preventing snow from drifting into your attic space during a harsh Michigan winter.
Types of Closure Strips for Metal Roofing: Foam, Solid, and Profiled Strips
Choosing the right material is the first step in a successful metal roof installation guide. Not all strips are created equal, and your choice depends on your specific ventilation needs.
- Foam Closure Strips: These are the most common. Made from cross-linked polyethylene foam, they are flexible and easy to compress.
- Vented vs. Non-Vented: Vented foam closure strips allow air to circulate out of the attic while still blocking bugs and rain. Non-vented (solid) strips are used at the eaves where you want a total air seal.
- Solid Rubber Strips: These are denser than foam and offer extreme durability. They are less common for residential use but excellent for heavy industrial applications.
- Profiled Strips: These are specifically cut to match the exact shape of your different types of metal roofing panels, ensuring a snug fit that won’t leave even a millimeter of space open.
Where to Install Closure Strips on Metal Roofing Panels and Ridge Caps
Location is everything when it comes to roof sealing. There are two primary areas where these strips are mandatory.
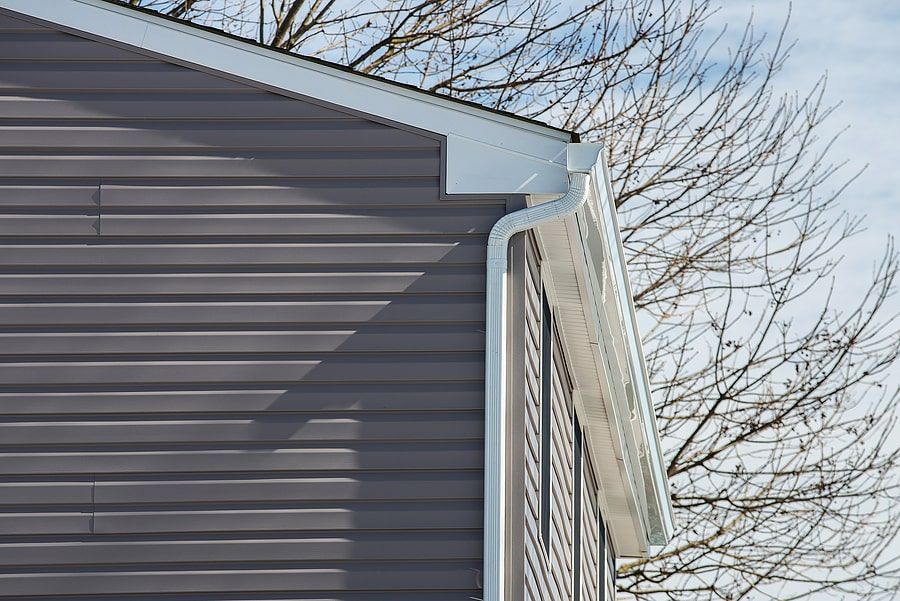
- The Eaves (Outside Closures): These are installed at the lower edge of the roof. They sit on top of the eave trim but underneath the metal panels. They prevent water from “wicking” back up under the metal and rotting your fascia boards.
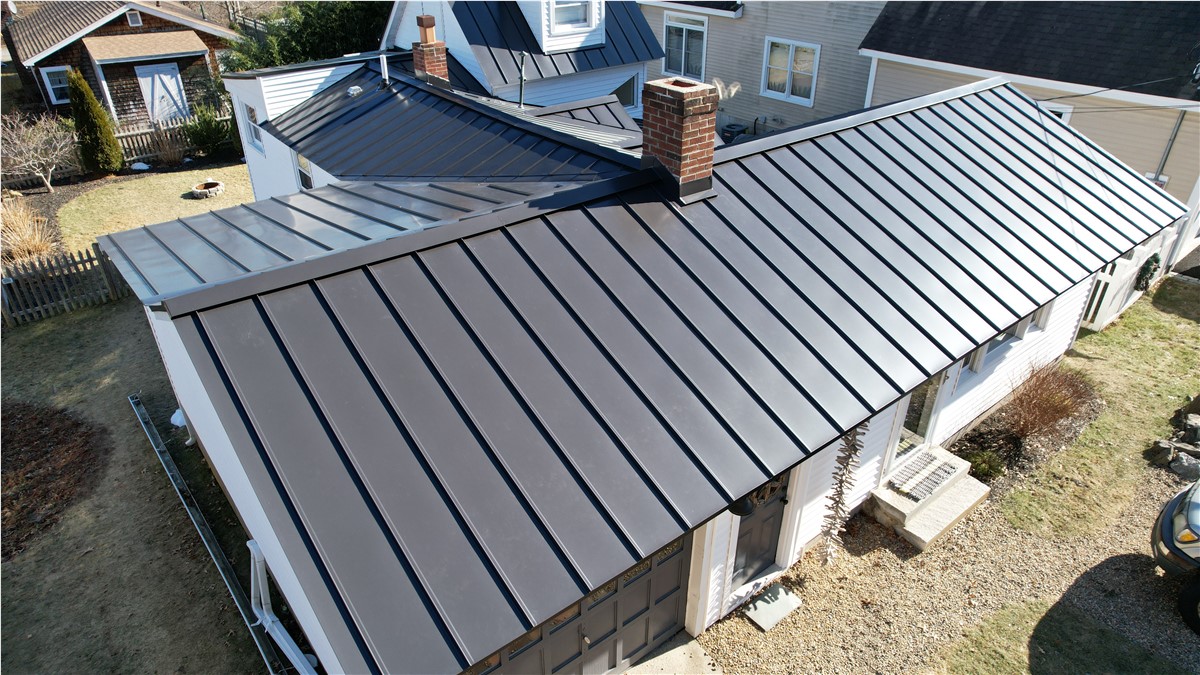
- The Ridge (Inside Closures): These are installed at the peak of the roof. They sit on top of the metal panels but underneath the ridge cap. This is where most people learn how to apply closure strips, which metal roof experts use to stop snow and rain from blowing into the peak.
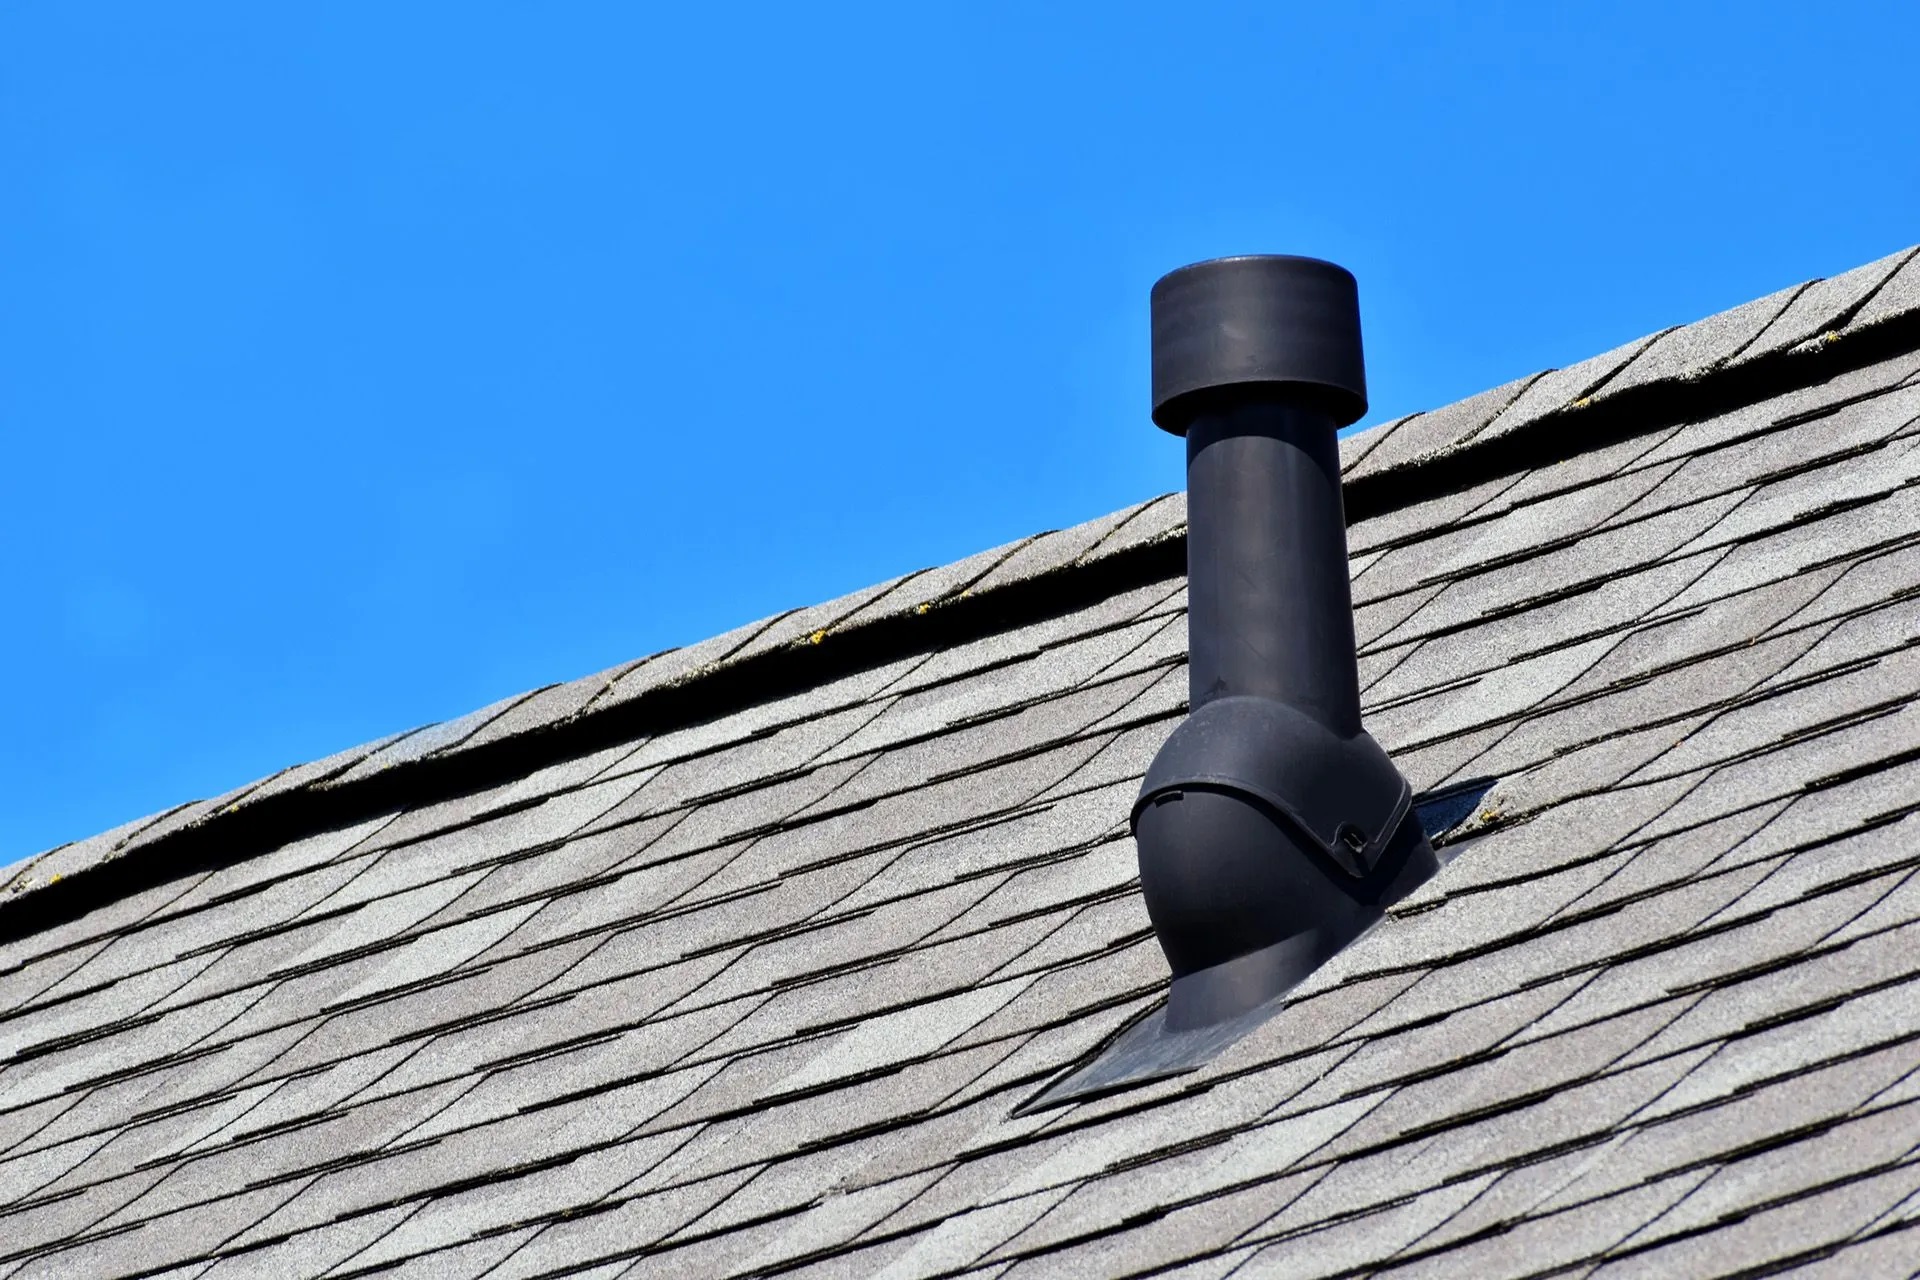
You may also need them around roof penetration sealing components like chimneys or vents. Understanding how roof penetration sealing components work with metal roofing systems and seeing how roof boots work can help you see how closure strips work in tandem with other parts to create a leak-proof system.

Step-by-Step Guide to Applying Closure Strips on a Metal Roof
Ready to start? Follow these steps for a professional-grade finish.
1. Prepare the Surface
Before you begin, ensure the metal panels are clean and dry. Dirt or moisture will prevent the adhesive backing on the strips from sticking. If you have recently cut your metal, make sure you know how to cut metal roofing panels accurately for proper fit and sealing so the edges are straight and the strips align perfectly.
2. Align the Strip
Peel the paper backing off the adhesive side of the strip. Lay it down across the ribs of the metal panels about an inch back from where the edge of your ridge cap or trim will sit.
3. Press and Seal
Firmly press the strip into the “valleys” of the metal panels. You want the foam to conform to the shape of the metal. If the strip is a profiled match, make sure the “teeth” of the strip fit snugly over the ribs of the panel.
4. Install the Trim
Place your ridge cap or eave trim over the strips. Ensure the trim covers the strip completely so that the foam is not exposed to direct sunlight, which can degrade it over time.
5. Secure with Fasteners
Drive your fasteners (screws) through the trim and the closure strip and into the metal panel or wood purlin below. The fasteners (screws) should be tight enough to compress the foam slightly, creating a gasket-like seal.
Common Mistakes When Installing Closure Strips and How to Avoid Them
Even pros can make mistakes if they rush the job. One common error is using the wrong profile. If the “teeth” of the strip don’t perfectly match the height of your panel ribs, you will have gaps. Always buy your closures from the same place you bought your metal to ensure a perfect match.
Another mistake is forgetting the adhesive. If your strips don’t have an adhesive back, use a small dab of sealant to hold them in place during installation. If they shift while you are screwing down the ridge cap, you won’t know there is a gap until your ceiling starts leaking. Finally, never stretch the foam. If you pull the strip too tight, it will eventually shrink back and pull away from the ends, leaving the corners of your roof vulnerable.
How Closure Strips Improve Metal Roof Performance and Weather Protection
A roof without closure strips is like a high-end jacket that you forgot to zip up. It might look good, but it won’t keep you warm or dry. By installing these strips, you significantly improve the R-value of your building by stopping cold drafts from entering the attic or living space.
In Michigan, where “ice damming” is a major concern, closure strips prevent warm air from escaping through the ridge, which helps keep the roof deck at a consistent temperature. This simple, inexpensive component is the “glue” that holds your entire roofing weatherproofing system together. It ensures that your metal roofing panels perform exactly as they were engineered to.
FAQs
What are closure strips used for in metal roofing?
They are used to fill the gaps created by the profile of the metal panels, blocking out rain, snow, insects, and wind.
Where should closure strips be installed on a metal roof?
They are primarily installed at the eaves (bottom) and the ridge (top), as well as around large penetrations like chimneys.
Do you need closure strips for metal roofing?
Yes. While the roof might look fine without them, you will eventually face issues with pests, moisture, and poor energy efficiency.
Can you install closure strips without adhesive?
You can, but it is very difficult to keep them aligned while installing trim. It is highly recommended to use strips with adhesive or apply a bit of sealant to hold them.
How long do closure strips last?
High-quality foam or rubber closures typically last 20 to 30 years, often matching the lifespan of the metal panels themselves if they are protected from UV light.
Conclusion
Mastering how to apply closure strips to metal roof components yields massive rewards in durability. By choosing the right profile and ensuring a tight seal with quality fasteners (screws), you protect your investment from the elements. As Michigan’s experts, The Metal Shop provides the perfect ridge cap and the best closure strips metal roof projects require. Ready to start your project with premium materials? Contact Us for a quote or expert advice! Your building deserves the best protection, so ensure you understand every step of the closure strip metal roof installation process.