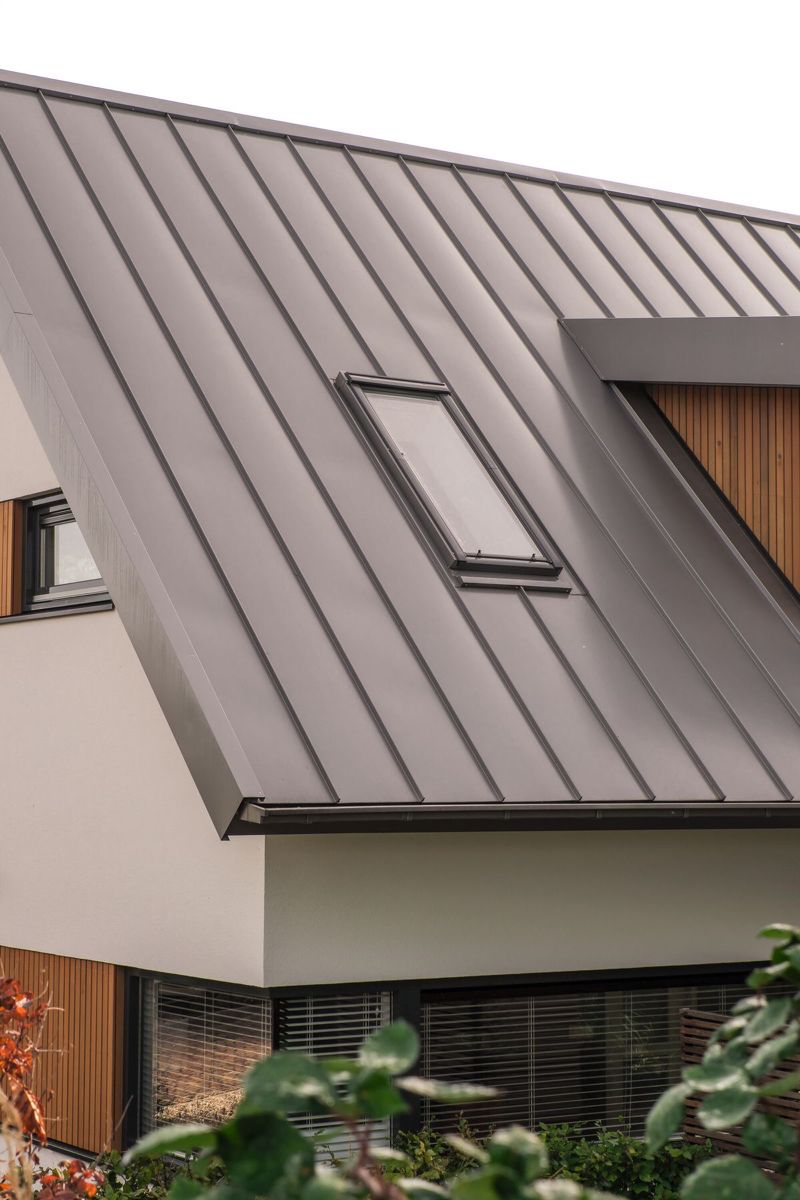
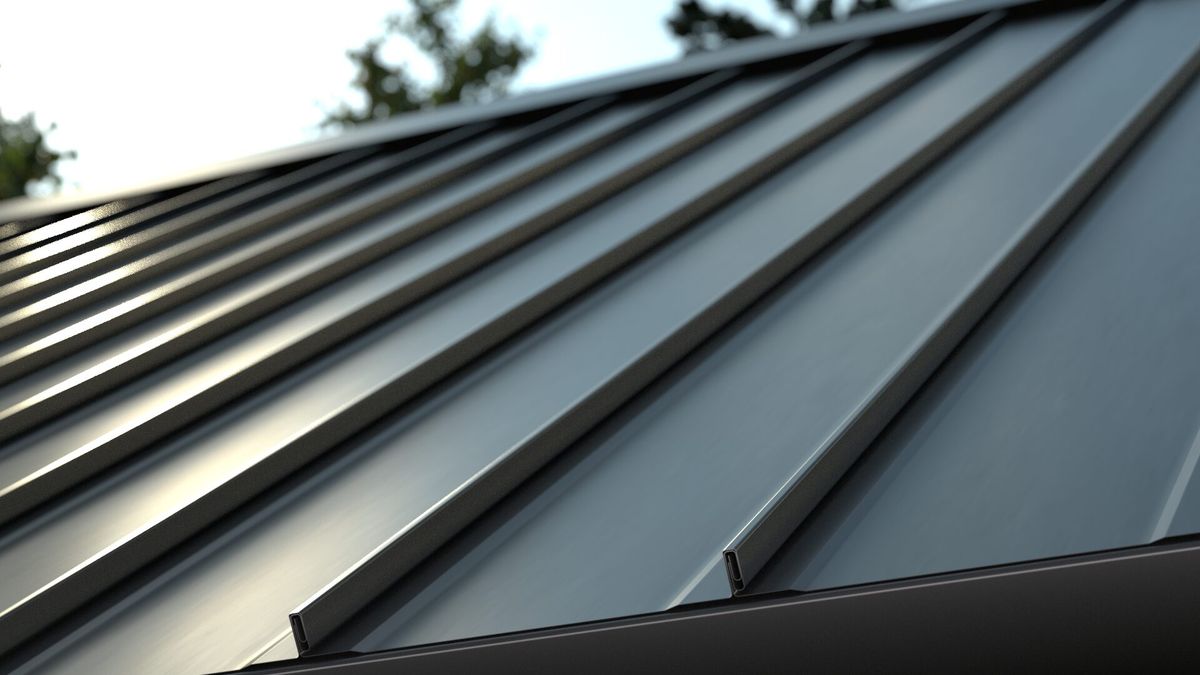
Installing metal roofing on a pole barn can seem like a big project, but it’s manageable with the right prep. With solid tools and a step-by-step plan, you’ll lock in decades of protection. This guide, brought to you by trusted metal roof suppliers in Michigan, shows you how to keep your barn strong, dry, and built to last.
How to install metal roofing on a pole barn?
To install metal roofing on a pole barn, measure and prep the roof, lay underlayment, install overlapping panels, fasten them securely, add a ridge cap, and seal all edges.
Key Takeaways
-
- Metal roofing offers durability, low maintenance, and energy savings.
- Gather tools, safety gear, panels, screws, flashing, and ridge caps.
- Prep the barn by cleaning, checking the frame, and laying underlayment.
- Install panels starting opposite the wind direction, overlap correctly, and secure with proper screws.
- Seal edges, add a ridge cap, and inspect for leaks.
- Maintain by cleaning, tightening screws, and checking after storms.
Why Choose Metal Roofing for a Pole Barn?

Built to Last
Metal roofing isn’t just stylish when comparing metal roofing vs shingles, the difference in strength is clear. Whether facing rain, snow, or blazing sun, it stands strong without constant repairs. Every sheet adds long-term peace of mind.
Low Maintenance, Big Payoff
Forget weekend roof patching. Metal requires far less upkeep than shingles or wood. A quick rinse keeps it looking sharp and performing reliably.
Energy-Friendly
Metal reflects heat, keeping your barn cooler in summer. Add insulation and you’ll maintain year-round comfort while cutting energy costs.
Style That Hits Different
You don’t need to trade style for strength. Metal roofing comes in colours and finishes that elevate a plain barn into an attractive, modern structure.
Tools and Materials You’ll Need
Basic Tools
You’ll need a sturdy tape measure, chalk line, and reliable power drill. Use snips or a metal-cutting saw for clean, frustration-free panel trimming.
Safety Gear
Gloves, goggles, and sturdy boots are essential. Metal sheets are sharp, so always protect your hands and eyes.
Roofing Materials
Gather your materials—metal panels, roofing screws with rubber washers, and closure strips. If you’re following a step by step pole barn with metal trusses guide, don’t forget flashing and ridge caps to lock in a watertight, polished finish.
Pro Tip
Keep a magnetic sweeper handy. Dropped screws tend to disappear—until your tyre finds them.
Preparing Your Pole Barn for Metal Roofing
Clear the Deck
Before you even think about climbing up, make sure the barn’s roof is clean. Whether you’re following specific pole barn home plans or working on an existing structure, sweep off dust, debris, and any old fasteners that could interfere with your panels.
Check the Frame
Your roof frame is the backbone. Tighten loose screws, replace warped boards, and confirm trusses are solid. A shaky frame equals shaky roofing.
Add the Right Base
Lay down a moisture barrier or underlayment. Think of it like a good pair of socks under fresh sneakers—it keeps things dry and lasts longer.
Step-by-Step Guide to Installing Metal Roofing on a Pole Barn
1. Measure and Prep Your Roof
First things first, grab your tape measure. You’ll need exact dimensions so your metal panels fit clean without awkward gaps. Clear the roof surface of debris, nails, or warped wood. A clean base is the cheat code to a smooth install.
2. Frame and Add Underlayment
Install purlins or framing strips if they’re not already there. These are the support crew for your panels. Roll out roofing underlayment to keep moisture in check. Think of it as the invisible bodyguard under your metal roof.
3. Line Up the First Panel
Start on the side opposite the wind direction. That way, gusts don’t sneak under your overlaps. Place the first panel flush with the eave and square it to the ridge. If this first piece is crooked, everything else will follow its bad influence.
4. Fasten with Care
Use screws designed for metal roofing, and go into the raised ridges of the panel, not the flat spots. Too tight and you’ll dent it, too loose and leaks, crash the party. Keep screws lined up neatly for both strength and aesthetics.
5. Overlap and Repeat
Each panel should overlap the one before it by at least one ridge. That overlap is what locks out water. Keep checking that the panels stay square as you move across the roof. Think of it like laying down playing cards—tight, neat, and consistent.
6. Cut Panels Where Needed
At ridges, valleys, or roof edges, you’ll likely need to trim panels. Use metal shears or a circular saw with the right blade. Don’t freestyle cuts—clean lines keep your roof looking pro and working right.
7. Install Ridge Cap
The ridge cap is the crown jewel. It seals the top where both roof sides meet. Secure it with closure strips to block water, snow, or critters from sneaking in. Once that’s on, your roof’s got its final flex.
8. Seal the Details
Check edges, flashing, and screw heads for gaps. Add sealant where panels meet walls or vents. Small details now save big headaches later.
9. Final Check
Step back and inspect your work. Panels straight? Screws snug? Seams sealed? If yes, you’ve just installed a metal roof that’ll laugh at storms for decades.
Common Mistakes to Avoid When Installing Metal Roofing
Skipping Measurements
Eyeballing it won’t cut it. Measure twice, cut once, and save yourself a headache later.
Forgetting Underlayment
Metal alone isn’t enough. A good underlayment keeps moisture out and extends your roof’s lifespan.
Using the Wrong Screws
Wood screws on metal? Bad combo. Always use proper roofing screws with rubber washers for a tight seal.
Over-Tightening Fasteners
Cranking screws too hard can warp panels. Snug, not Hulk strength, is the goal.
Ignoring Flashing
Skip flashing and leaks will find you. Install it right around edges, vents, and openings.
Maintenance Tips for Your Pole Barn Roof
Keep It Clean
Leaves, sticks, and dirt trap moisture. Sweep or hose it off once in a while so your roof stays drip-free instead of rust-ready.
Inspect After Storms
Wind and hail can cause damage. A quick walk-around helps you spot loose panels or screws before they turn into leaks.
Tighten the Hardware
Screws loosen over time. Grab a drill, give them a snug twist, and your roof’s grip stays solid.
Watch for Rust
If you see a spot, don’t panic. Sand it down, hit it with a sealant, and your barn keeps flexing for years.
Read More about standing seam roof panel
Conclusion & Final Thoughts
Installing metal roofing on a pole barn takes focus, but it isn’t complicated. Before you cut metal roofing panels, measure carefully to ensure accuracy and a proper fit. Align panels, fasten securely, and seal every detail. Done right, your barn gets strength and style in one. Skip steps, and you invite leaks. Use quality materials, keep it simple, and your roof will stand firm for decades.
Find Out More About 5 Rib Metal Roofing , Roof Installation in Cedar Creek and Metal Roofing Tools

